
Quick start guide and your first campaign
Account creation
To create an account:
1. Go to https://next.pushpushgo.com/register and fill in the form.
2. Activate your account by clicking the link sent on the email address used during the registration

The link will be active for one hour only, so if you fail to activate your account on time, you will have to go back to the first step of the account creation. You can use the same email address as before.
Setting up your first project
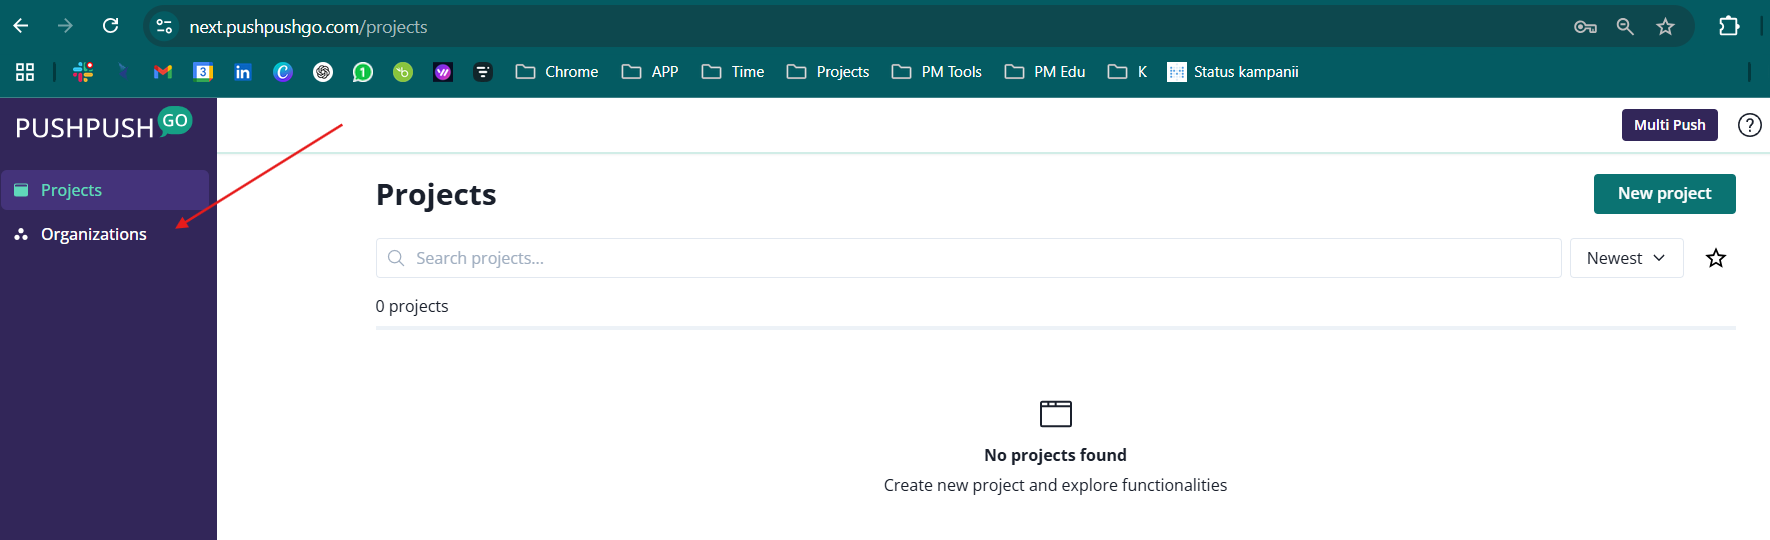
When you login for the first time, you will land on projects page.
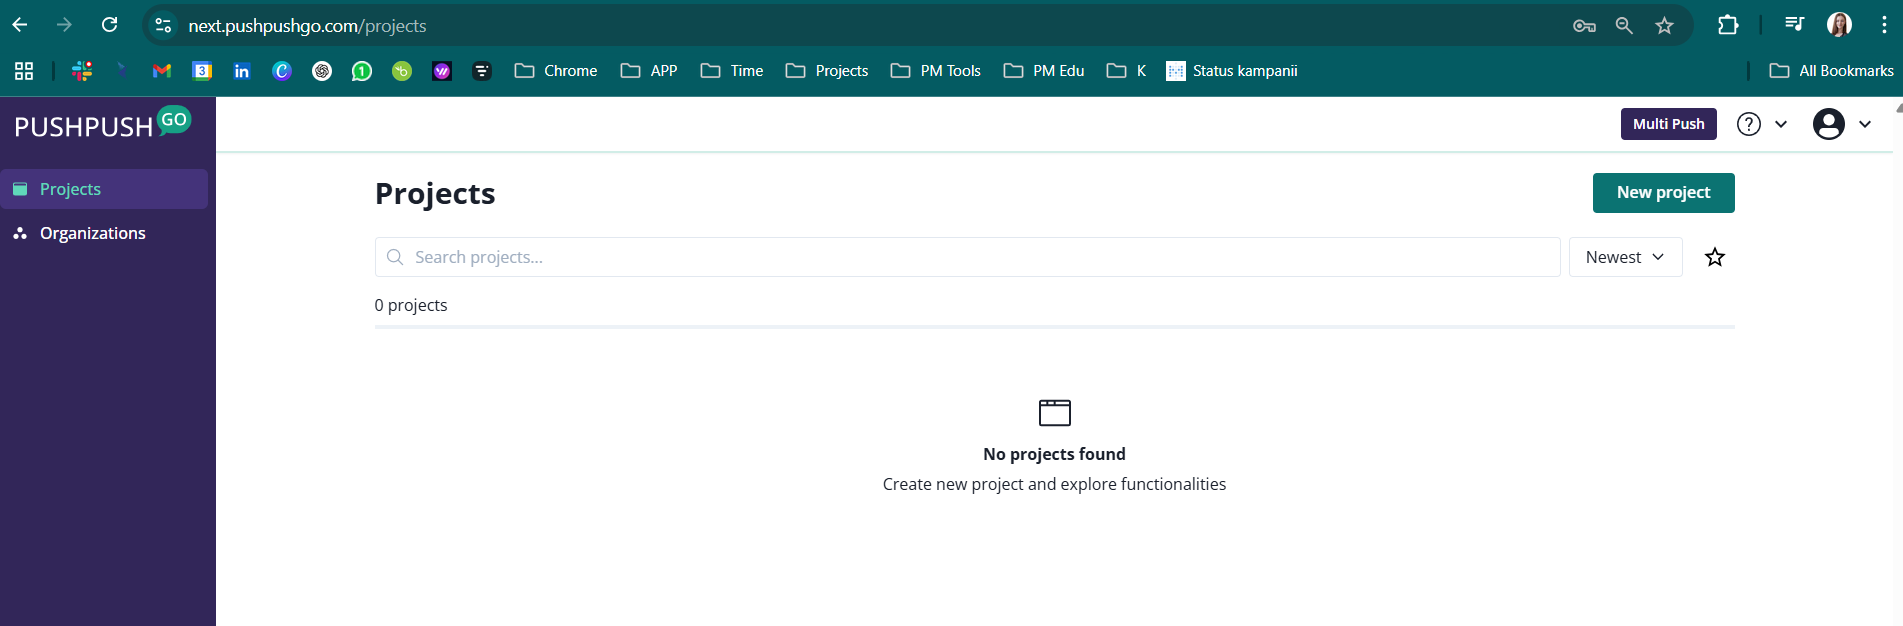
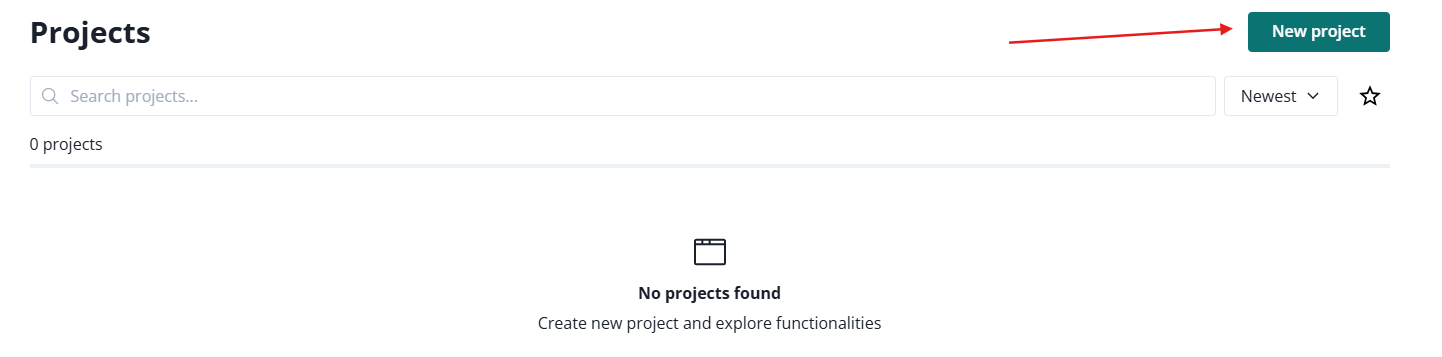
Create your first project by clicking on the button New project in the upper right corner:
Fill in the form:
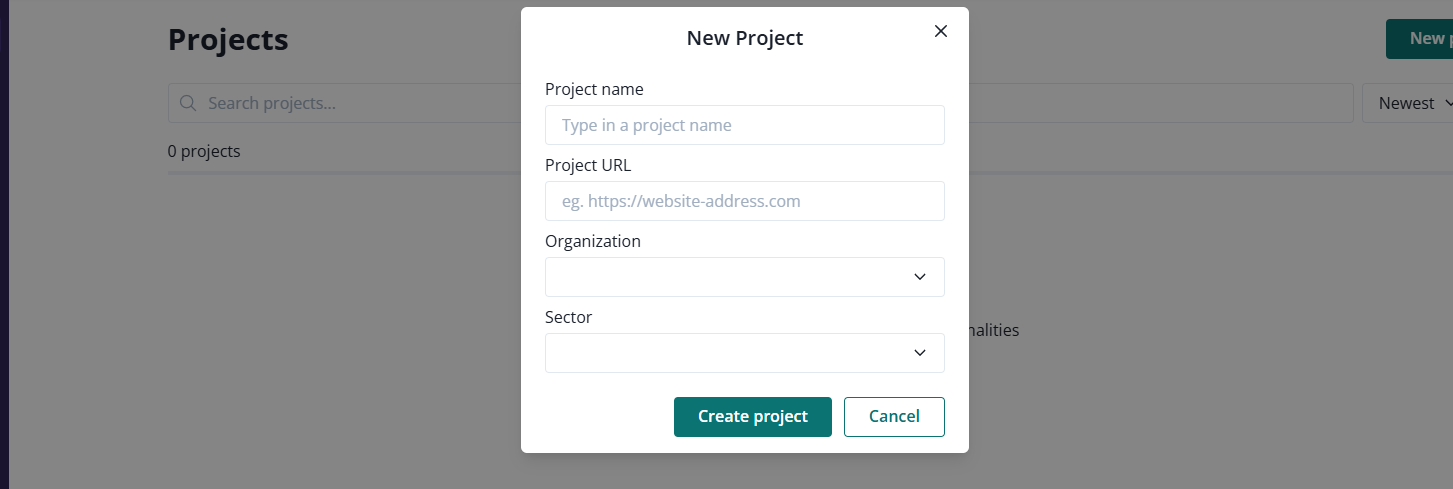
When selecting the organization, you will have one option; the organization that was automatically created while opening the account. Its name is set to be your email address. You can add more organizations and manage their details (like name) in the organization option:
Fill in the sector input correctly, so we can adjust the communication to you (sending relevant updates about new options and invitations to webinars about PushPushGo).
Integration of the project
Before you integrate your project, read the section about subscrption forms.
Integration video instruction:
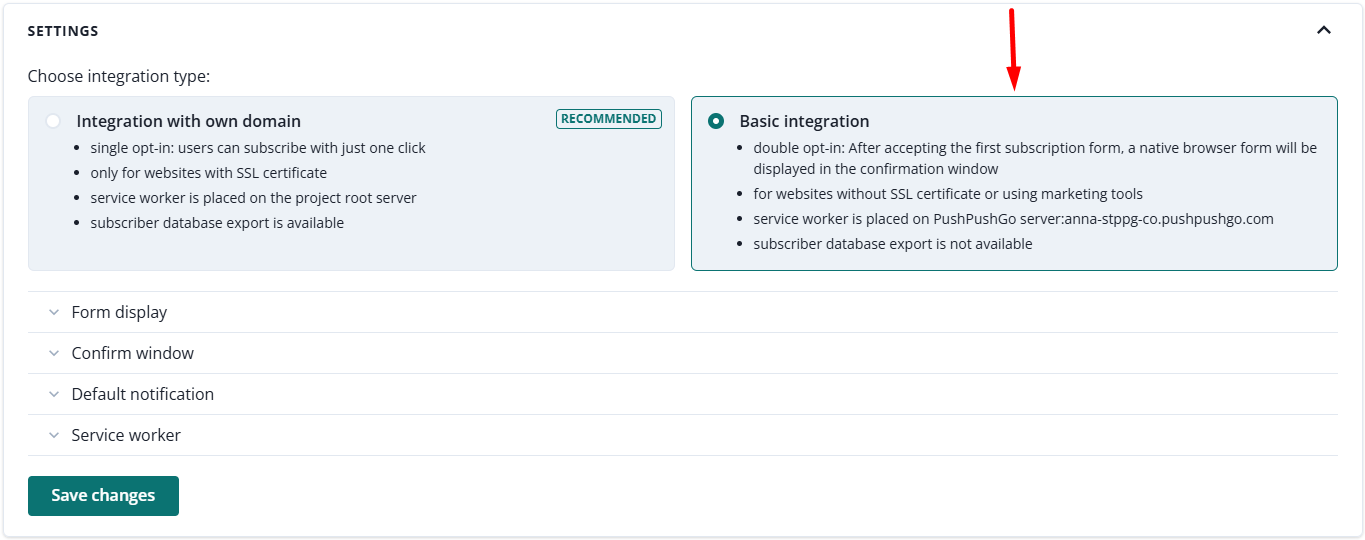
Basic integration
In the case of Basic integration, you only have to paste the integration code anywhere into your website's code. In the result:
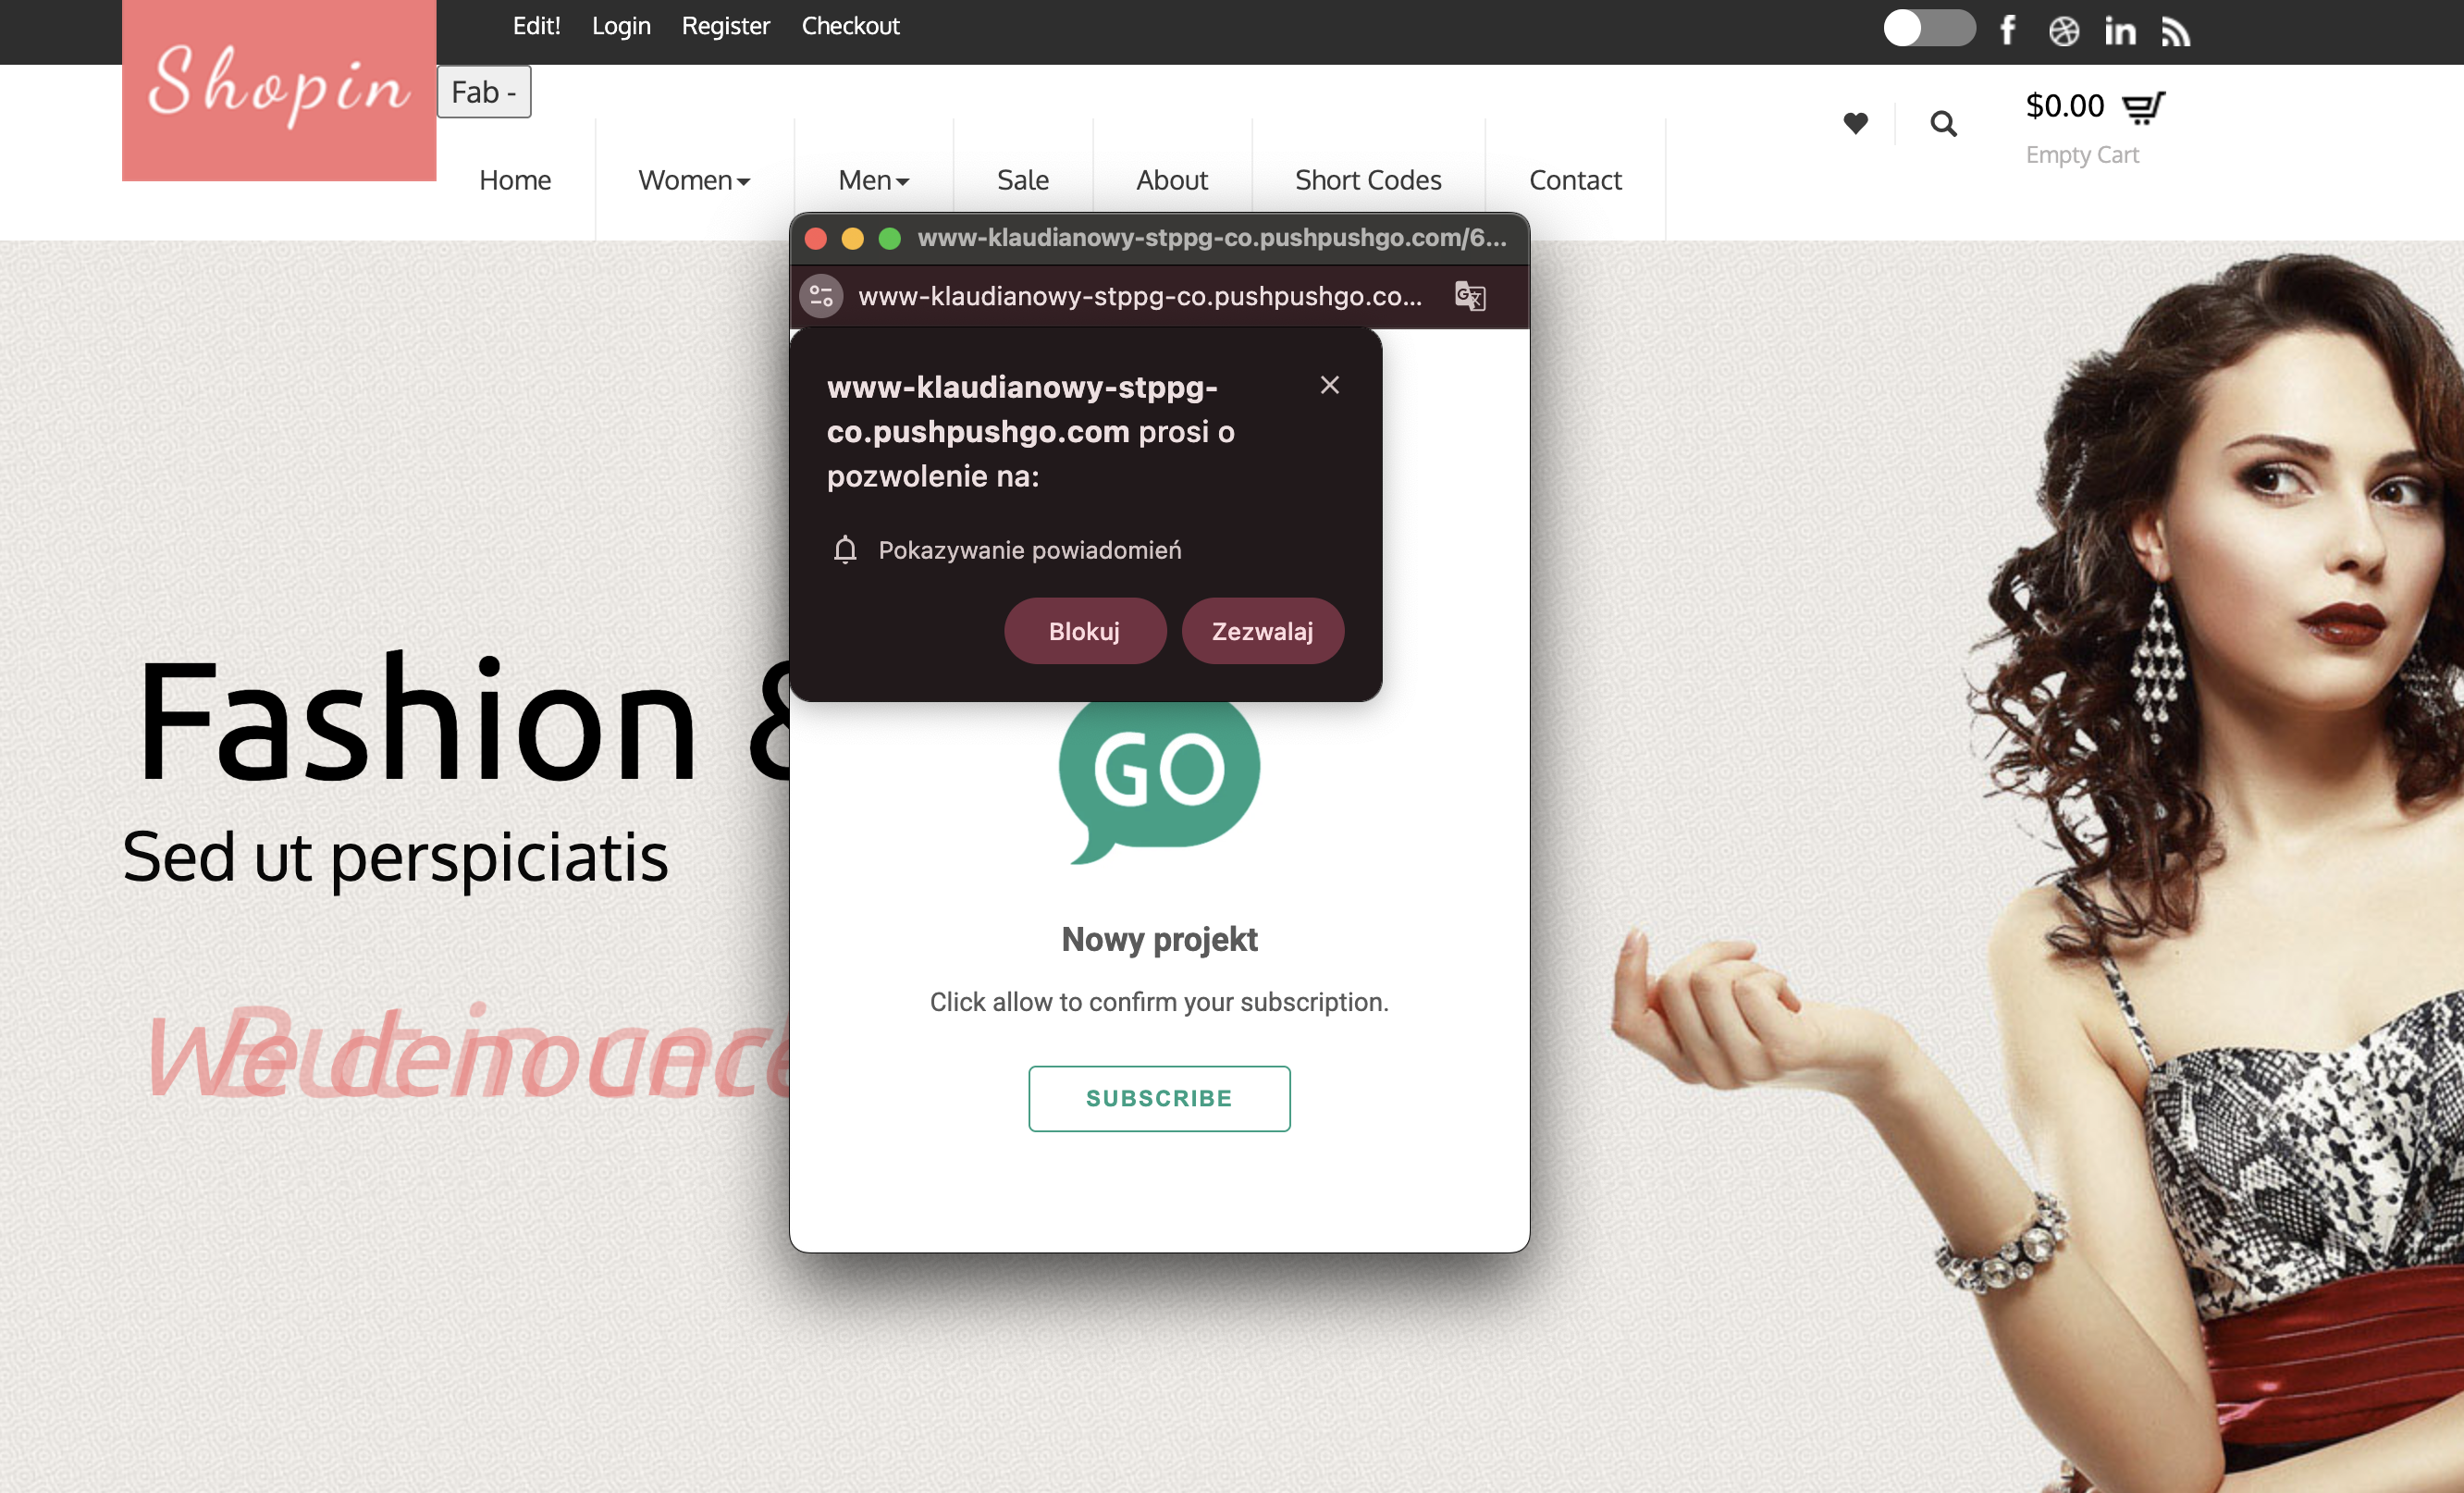
- Your recipients will sign up in two stages. After accepting the subscription form, a second pop-up window will appear (confirmation window), in which users must confirm their consent to receive notifications.
- Recipients are saved on a subdomain dedicated to each project www.yourdomain-pl.pushpushgo.com.
- Notifications will display a dedicated subdomain www.yourdomain-pl.pushpushgo.com.
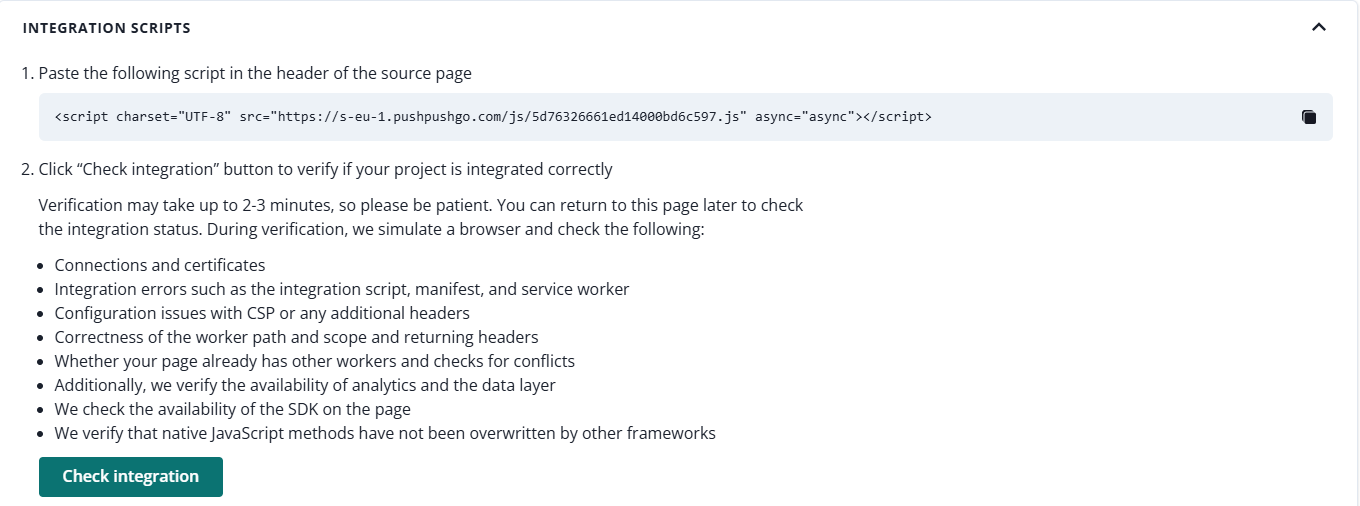
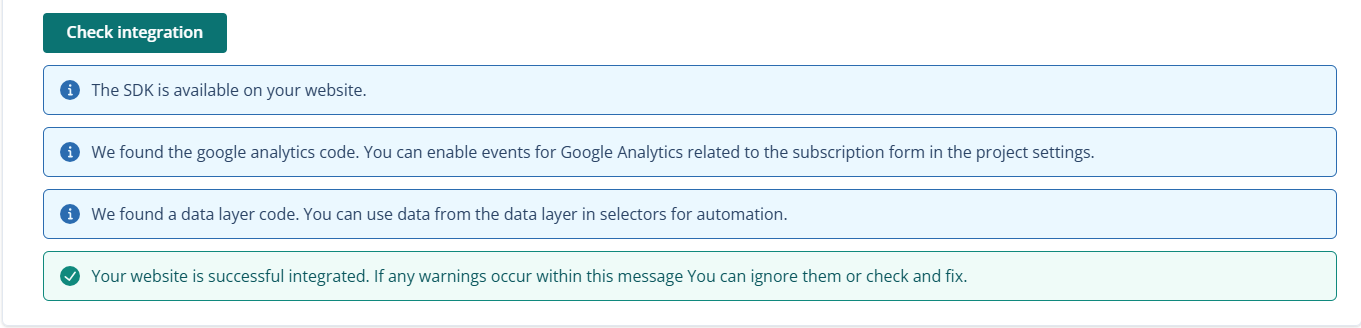
2. Click the Check Integration button to verify that everything works correctly.
The following messages will inform you about the correct integration:
Confirmation window
With basic integration, the notification entry consists of two steps. After displaying the subscription form with which the user agrees to receive notifications, an additional confirmation window will appear, in which they must confirm their consent to subscribe once again.
The "Confirmation window" editing option can be found in the "Web push integration" section. You can change the content and set the logo of your project to personalize the confirmation window and make it visually consistent with the sign-up form.

Integration with own domain
In the case of Integration with own domain, additional conditions must be met during the integration process:
- Your domain must have https.
- The integration script must be placed in the <head> section of your website's code.
- You must add an sw.js file downloaded from our website to your server root path (so that it is available from https://yourdomain.com/sw.js).
Due to the above, it is not possible to carry out this integration using Google Tag Manager.
What do you gain from this integration?
- Your recipients subscribe to one-click notifications, enabling your database to grow faster.
- Only your domain is visible in notifications on your website.
1. To integrate your website using Integration with own domain, first download and unpack the script and then place it on the server root path.
To check its location:
- Paste http: //yourdomain/sw.js in your browser and check if it returns the file value or displays an error
2. Next, place the integration code in the <head> section in your page code and click Check Integration to verify its accuracy.

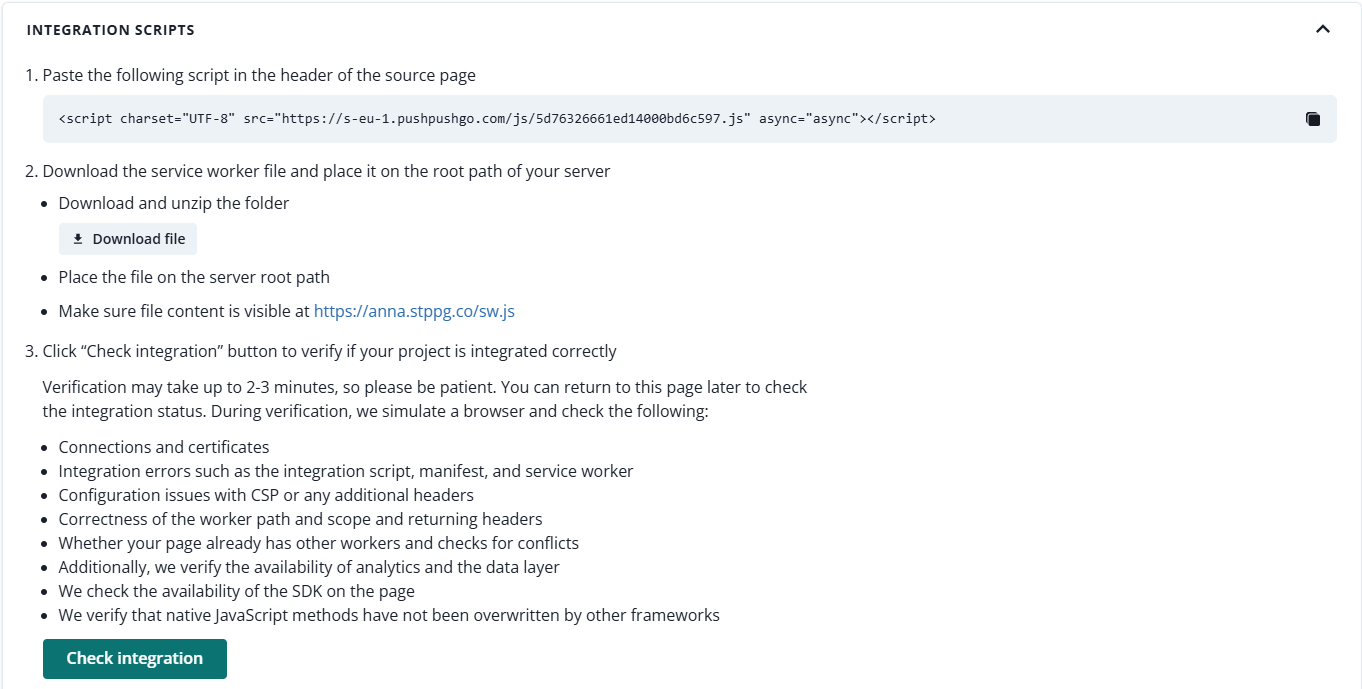
3. A green message will inform you about the correct integration and a form for subscribing to web push notifications will appear on the website.

Important: In the case of integration with own domain, if you already have your service worker on the site and you can not delete it - import the contents of the sw.js file into your file and be sure to inform us about it.
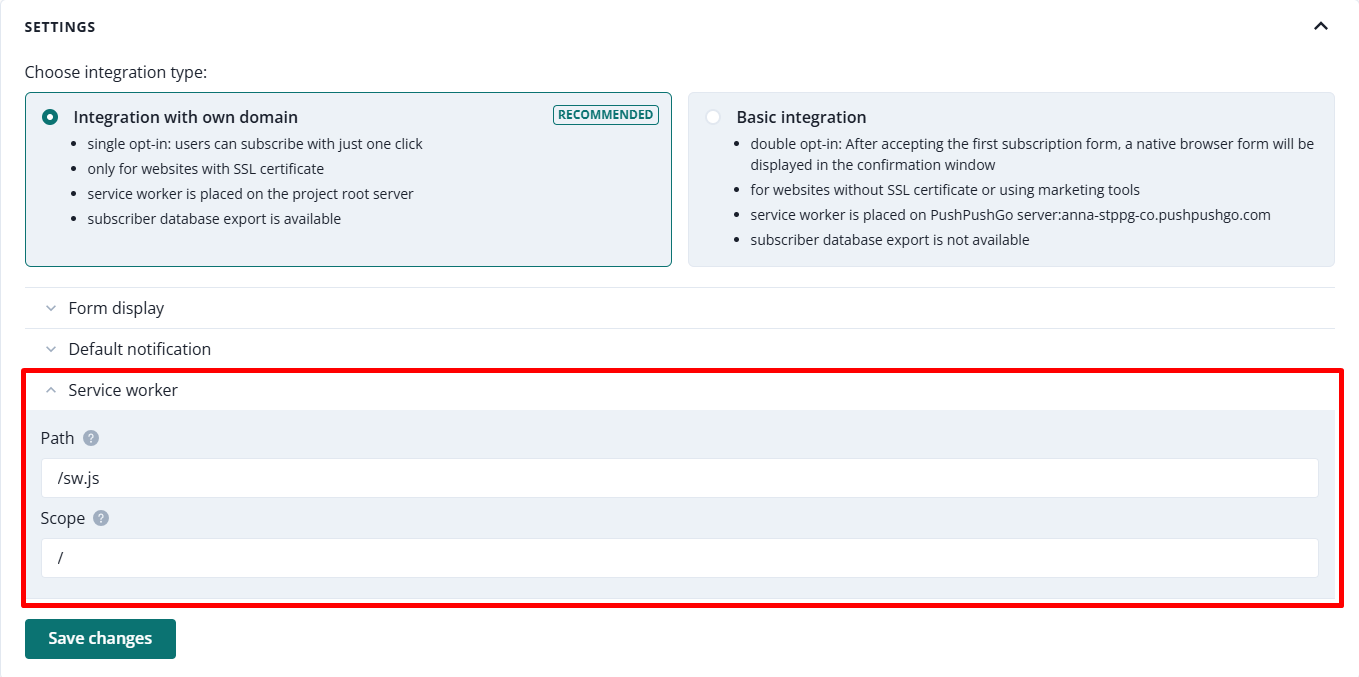
Service worker path change
If you want to replace the address from sw.js with another one, e.g. service-worker.js, you can paste the new address in the Service Worker Path section of the Project settings tab. However, if you want to change the directory where the sw.js file is located (for example to static/sw.js), you must also add the following response header: "Service-Worker-Allowed": "/".
If you intend to add the service worker to another directory, e.g. static, then the fields "sw.js path" and "sw.js scope" (in the Project settings tab on your account) should be completed in this way:
- sw.js path: /static/sw.js
- sw.js scope: /static
Send a web push campaign
To complete the quick start you can send your first web push campaign (or set up an onsite notification, depending on your subscription plan)!
Sending web push campaign video instruction: