
Web/mobile push: Automation
Overview
Automation allows you to automate activities for subscribers visiting your website.
- As subscribers browse the site, we track their behavior using selectors to create beacons.
- This data helps generate a subscriber’s context, triggering the automation.
- Each triggered automation uses this context to update labels and send push notifications to the subscriber.
Throughout the process, all contextual information remains available, allowing you to personalize messages and tailor the user journey based on their past interactions on the site.
Create automation
To create a new automation, click on New automation button in the Automation section:

You will be redirected to the automation creator where you can start to build the automation flow. Start with establishing the name, trigger, renew flow, and, optionally, start and end date.

Once you have completed those steps, you can move to building the flow.
Name
You can name your automation right after creating it:


The automation name desn't have to be unique (i.e. you can have two or more automations with the same name). However, the unique name will help you find the right automation on the list easily.

Flow
The automation flow can be described as a body of the automation. It consists of a trigger and steps.

You can access an existing automation flow by clicking on the Edit option on the Automation list:

or you can see the the automation flow after accessing the automation report:

Renew flow
Each automation flow can be either executed once for each subscriber that meets its conditions, or repeated, after established time period. You can establish that in the first step of creating a new automation, or change existing automation flow.

The option you choose should make sense for a particular automation. For example, a notification from the Welcome message automation should be sent only once; there is no need to greet a new subscriber more than once. In the case of Abandoned cart automation, you can opt for repeating the automation flow, because we want to contact the subscriber every time he abandons the cart.
Start date
Start date can be established for every automation. When the start date comes, the automation will change its status to enabled automatically. When there is no start date established the automation must be enabled manually. You can do that either after clicking on Create automation button or by changing the status on the automation list.
You can find that option after accessing Automation module and hitting the button Create automation, or in the already existing automation flow, after selecting Edit option on the automation list.

End date
With the end date set up, the enabled automation flow will change its status to expired when the date comes.

Building the flow
The process of building the flow always starts from:
- creating a new automation,
- establishing the name,
- choosing the trigger,
- establishing the renew flow.
After completing the above, you can start building the flow:
adding steps following the trigger
You can choose from the options below:

Make sure that the trigger step is selected (click on it if it is not highlighted in green).

Then, click on the selected step and choose the option from the drop-down list:

The step has been added to the flow, now you can move to filling in the details of the step on the right side of the screen:

Once you are done, you can add another step and repeat the process until your flow is completed.
If you happen to make a mistake and you want to delete a step that was added to the flow, select it by clicking on it, and then hit delete button on your keyboard.
Make sure to save your automation!
Steps
Automation flow is built from steps. Here are available steps that you can use in your flows:

Trigger
Trigger is an event, that will enable the automation flow for a particular subscriber that meets the conditions. There are four trigger options:
- Session start - first beacon in the session,
- Session end - 10 minutes after the first beacon in the session,
- Subscribed - subscribing to push notifications,
- API call - any event that you can send to us via API.
Campaign
In the automation flow, camapign step is marked with bell icon:

Create campaign
One you have decided to include campign sending step in your automation, you can start creating the content of the notification. You will need the same details as in case of manual push campaign.
- redirect link,
- icon,
- title,
- content,
- image,
- actions,
- require interaction,
- provider options.
Redirect link, icon, title and content are mandatory, you will not be able to save the flow if you leave these empty. The rest is optional. Read more about these in Web/mobile push: Push campaigns.
Before you start the configuration, make sure that the campaign step in the flow is selected and you can see the campaign form on the right side of the screen.

Now, you can fill in the mandatory and optional campaign details.
Edit campaign
To edit existing campaign step, access the automation creator from the automation list, using edit automation option.
Once you are in the creator, select the campaign step.
Now you can make changes to the content of the notification in the campaign step. Any detail can be changed, from title to action buttons. Once you are done, click on Save changes in the right upper corner of the screen.
You will be asked about updating existing flow:

You can also choose what happens with the subscribers already included in the edited automation. Their flows can either continue with old version or be stopped so they can receive the new content of the notification.
Campaign templates
Reuse campaigns already created in automation flows from your project. You will find them under Campaigns button, in the Campaign step.


Edit automation
In order to edit the existing automation flow, go to the Automation list, find the automation you want to update and select “Edit” from the drop-down menu available after clicking on the three dots.

The automation creator will open and allow you to tweak the existing automation flow.

You can add steps to the automation flow, change the notification content in the campaign step, or set up an end date for the flow.
When you are ready to save it, after clicking on the "Save changes" button. Then you will be asked to decide on the terms you want to Update automation.
Update automation
After clicking on Save changes in the automation you are updating, the system will ask you to decide on Version history and Managing existing flows.

Version history: you can save the changes in the existing automation flow or create another version of this automation. If you decide to create another version of the automation you will get two versions: an original and a new one.
Report
To access automation report, go to automation list, click on three dots on selected automation and go to View report.

Automation report
In the report you will find general settings of your automation flow and statistics of how many subscribers went through particular steps within the selected time frame:

You can go through all steps included in the flow by selecting them, to see the settings of each step:

Campaign report
Campaign report consists of the details of the configuration of the notification and statistics of the campaign:


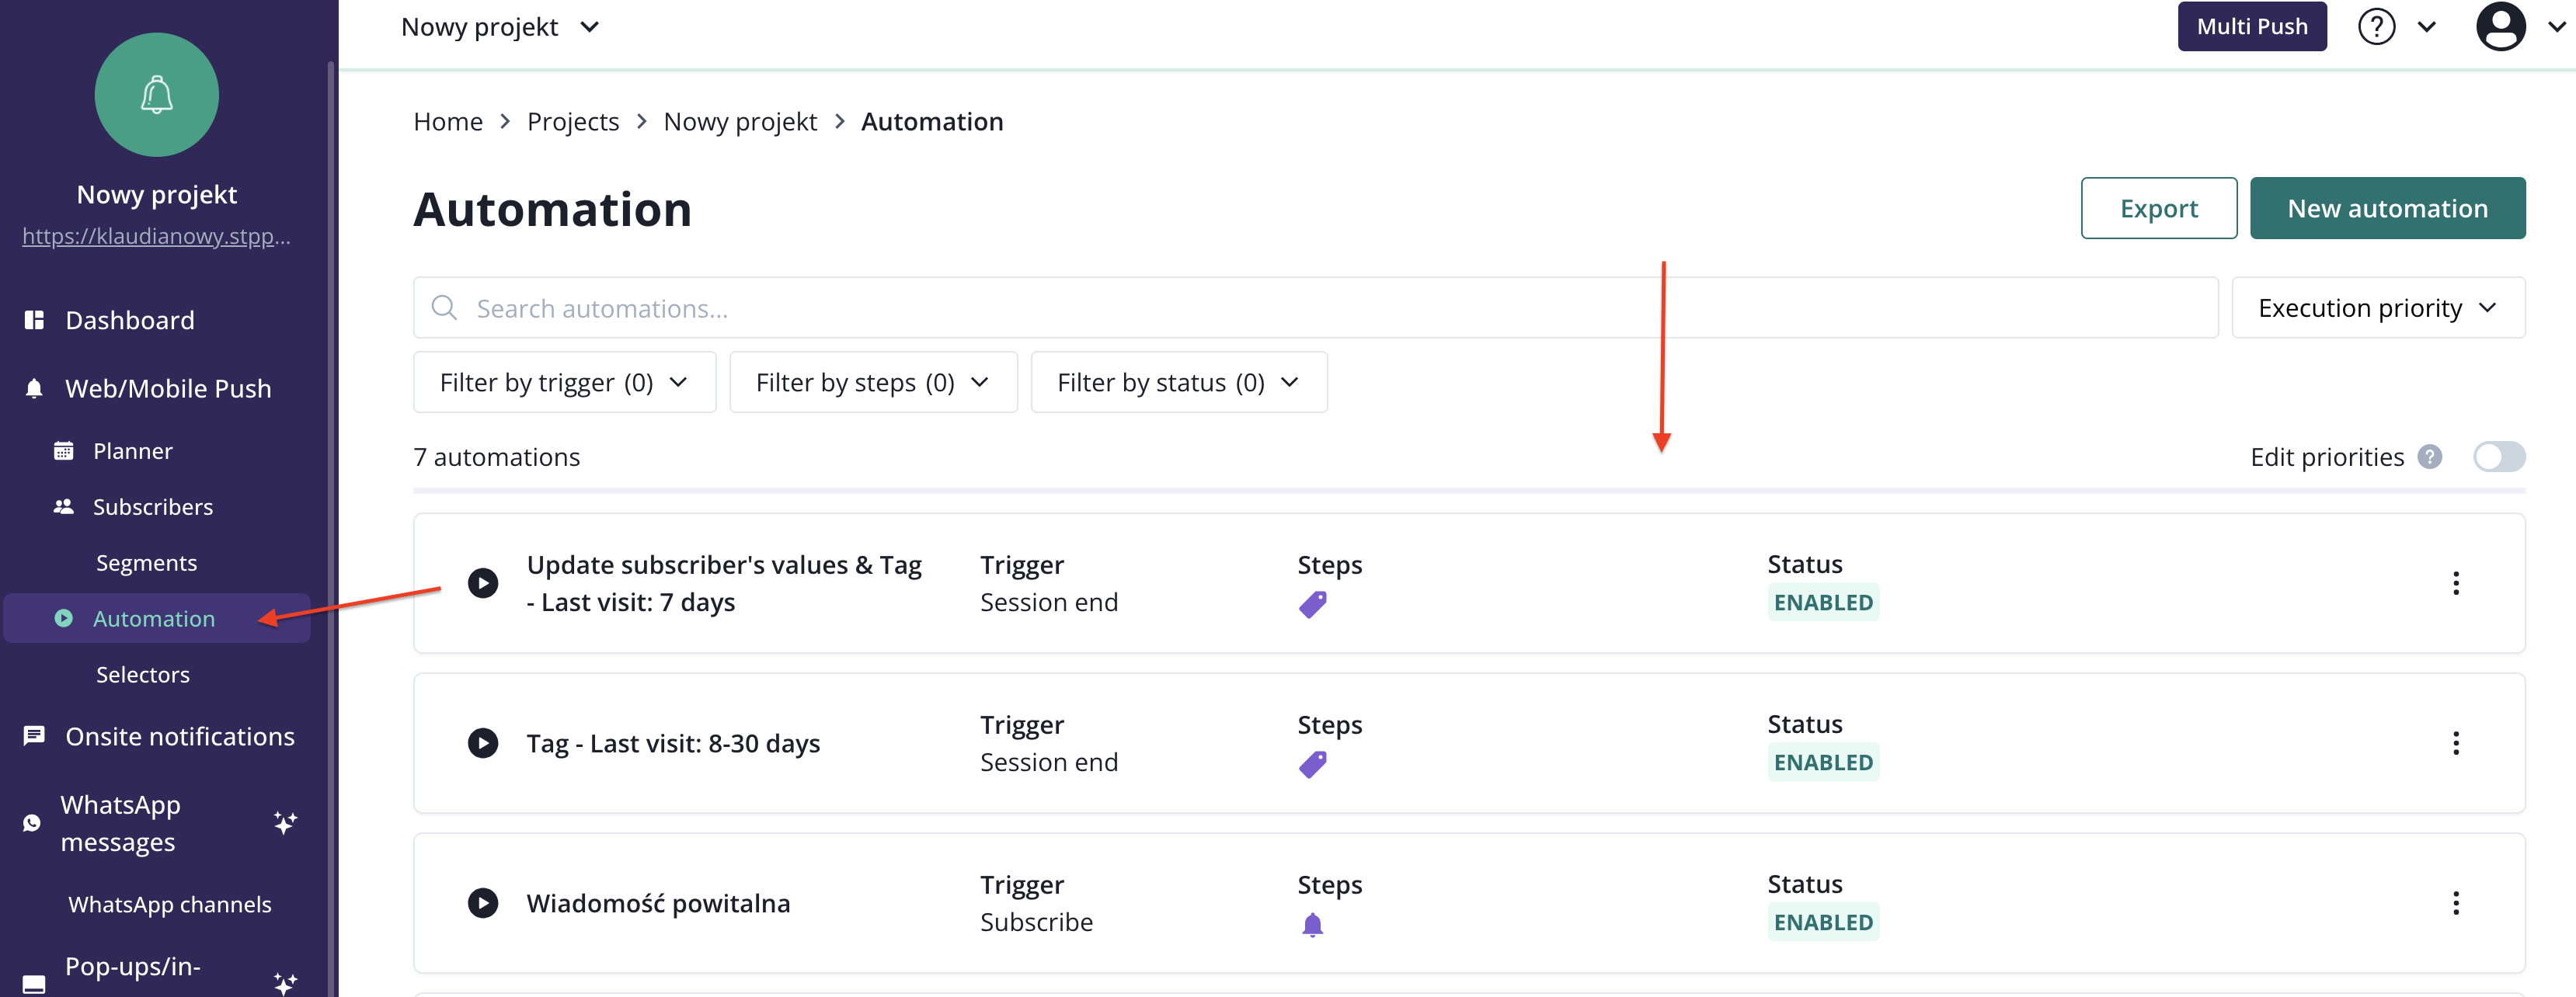
Automation list
Automation list can be found under Automation tab in the PushPushGo's main menu. After accessing that section you will see the list of currently configured automations on your project. You can use the search function, filters, and sorting to adjust the list view.
Priority
Priority determines the order in which automations are executed. You can set priorities for all your automations in the Automation list. To do this, you first need to enable priority editing.

Now, you can establish priority for each automation.

Automations are being executed by order, starting from the automation with priority number "1", then "2" and so on. If you leave some automations without priority, they will be assigned prirority "0" and run in random order.
Action
Actions highlighted on the automation list refer to unique steps set up in the automation flow. The display allows you to see specific actions included in the automation without opening the Automation report.

Actions in that section are as follows:

You will find an in-depth description of these actions in Steps.
You can also filter your automations by Action in the Automation list.

Status
There are four possible statuses of an automation:
- Enabled,
- Disabled,
- Expired - automation that was previously enabled, but it reached its expire date,
- Pending - automation is going to be atumatically enabled when the start date comes.

Start date and end date can be both set up in the automation settings.
To change the status to enabled or disabled, simply click on the three dots and select it from the drop-down list:


After changing the status to enabled, you will be asked to decide if you want to reset flow time.
Reset flow time
If you want to re-enable the automation that was previously disabled, the application will ask you whether to “Reset and enable” or “Only enable” the flow.

The choice impacts the subscribers already included in the automation. They can finish the existing flow or be included in the re-enabled one.
Bear in mind that this question will pop up even if don’t make any changes in the flow. The changes include the content of notifications as well as steps and conditions within the flow.
Reset and enable: the old version of the automation won’t be applied anymore. The subscribers who already entered the flow will see the updated versions of notifications and follow the updated steps.
Only enable: subscribers that have already entered the flow will finish it with old versions of notifications and steps. The updated automation will be shown to subscribers who enter the flow after the changes.