
Quick start guide and your first campaign
Account creation
To create an account:
1. Go to https://next.pushpushgo.com/register and choose how you want to create an account.
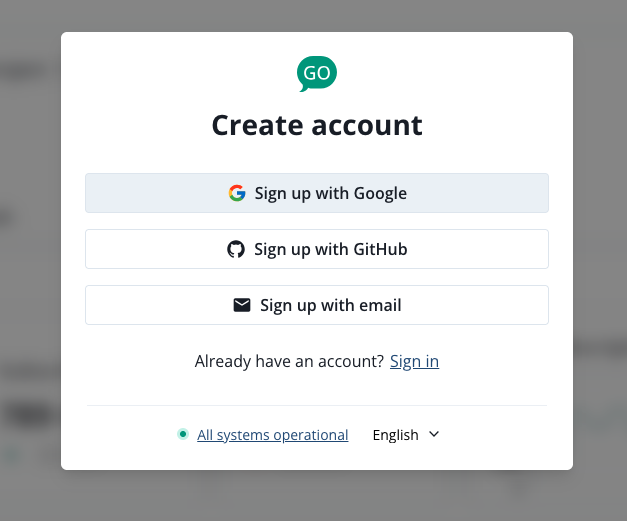
2. Activate your account by clicking the link sent on the email address used during the registration
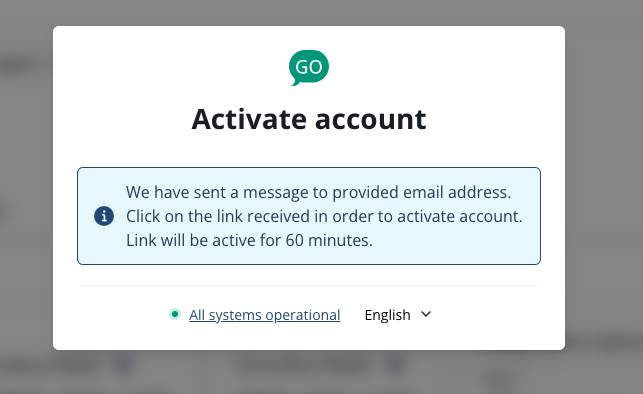
The link will be active for one hour only, so if you fail to activate your account on time, you will have to go back to the first step of the account creation. You can use the same email address as before.
Onboarding
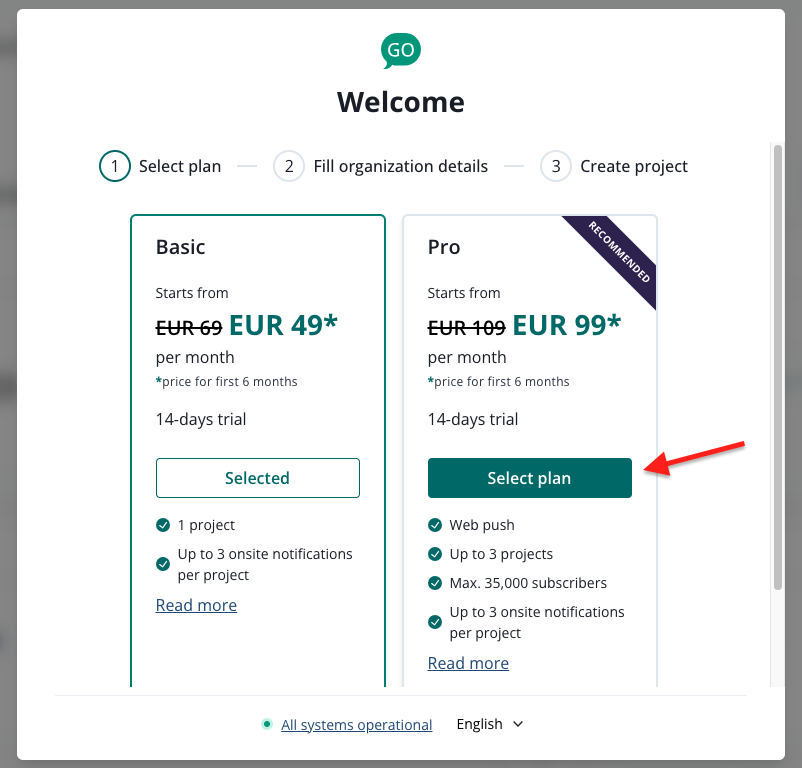
When you log in for the first time, you will need to choose a plan if you haven’t already. You can see all available plans here.
Plan Pro is recommended as the best starter if you plan to use PushPushGo primarily for web push notifications and you will be integrating it with your Marketing Automation (e.g. ActiveCampaign).
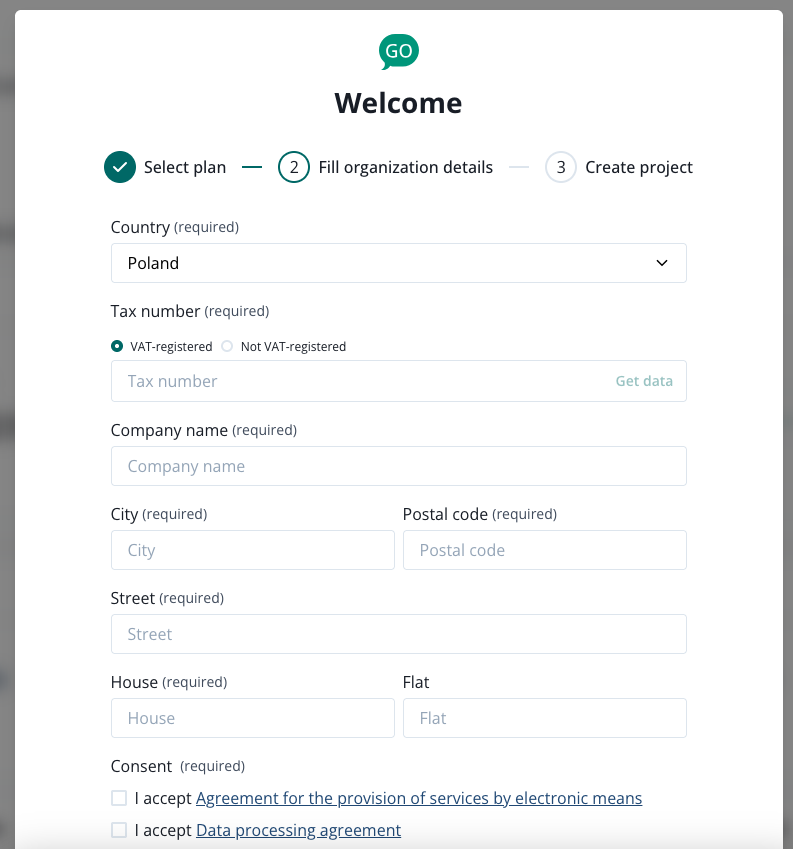
Continue your onboarding by providing your organization details.
Create your first project in the last step of the onbarding flow.
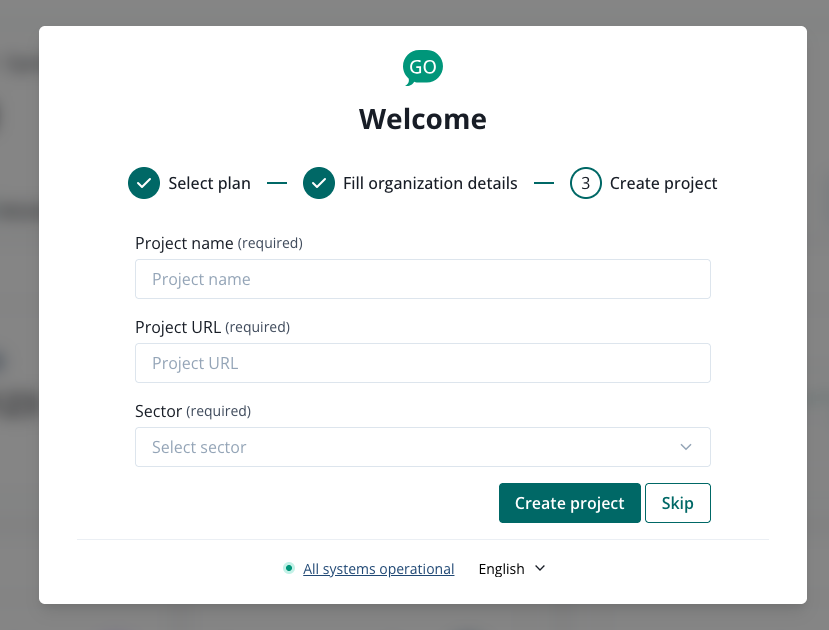
Once you are done with that, hit Create project. Right after you will be redirected to the Integration section for your first PushPushGo project.
Integration of the project
Before you integrate your project, read the section about subscrption forms for web push.
Integration video instruction:
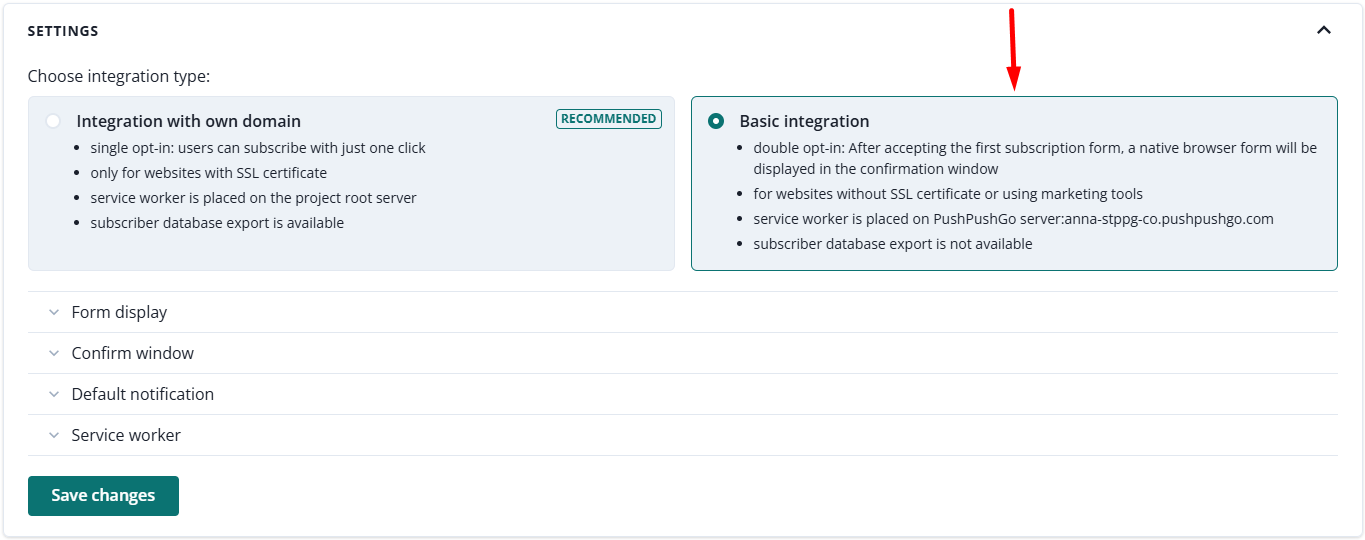
Basic integration
In the case of Basic integration, you only have to paste the integration code anywhere into your website's code. In the result:
- Your recipients will sign up in two stages. After accepting the subscription form, a second pop-up window will appear (confirmation window), in which users must confirm their consent to receive notifications.
- Recipients are saved on a subdomain dedicated to each project www.yourdomain-pl.pushpushgo.com.
- Notifications will display a dedicated subdomain www.yourdomain-pl.pushpushgo.com.
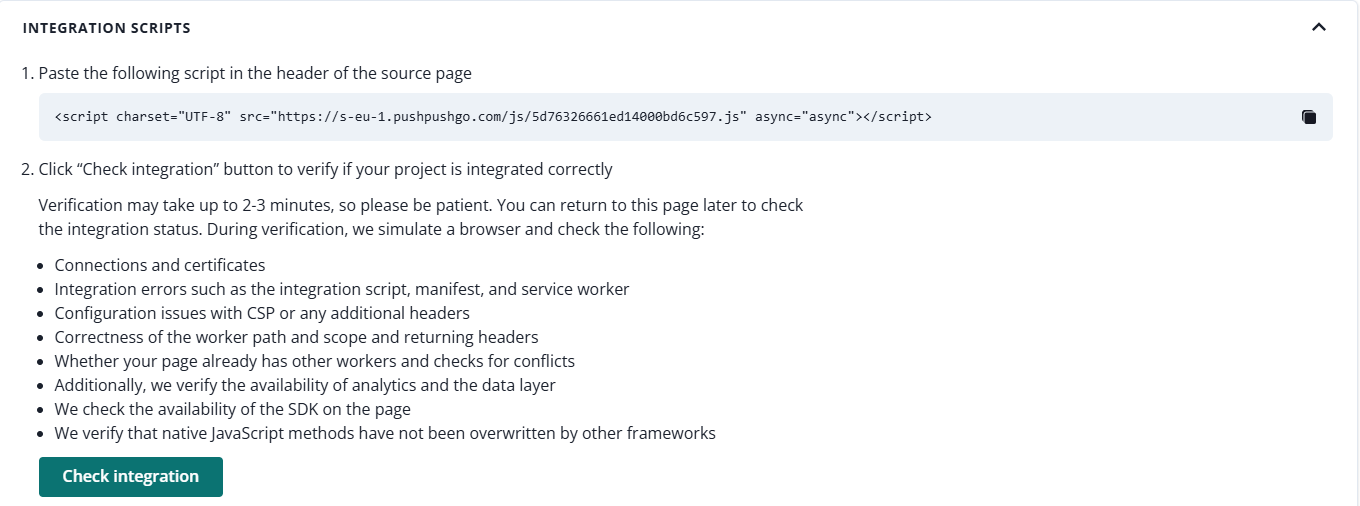
2. Click the Check Integration button to verify that everything works correctly.
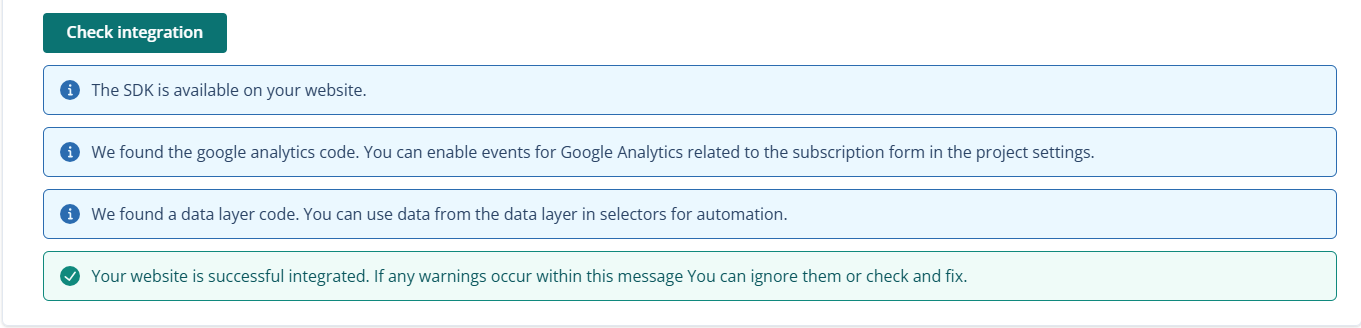
The following messages will inform you about the correct integration:
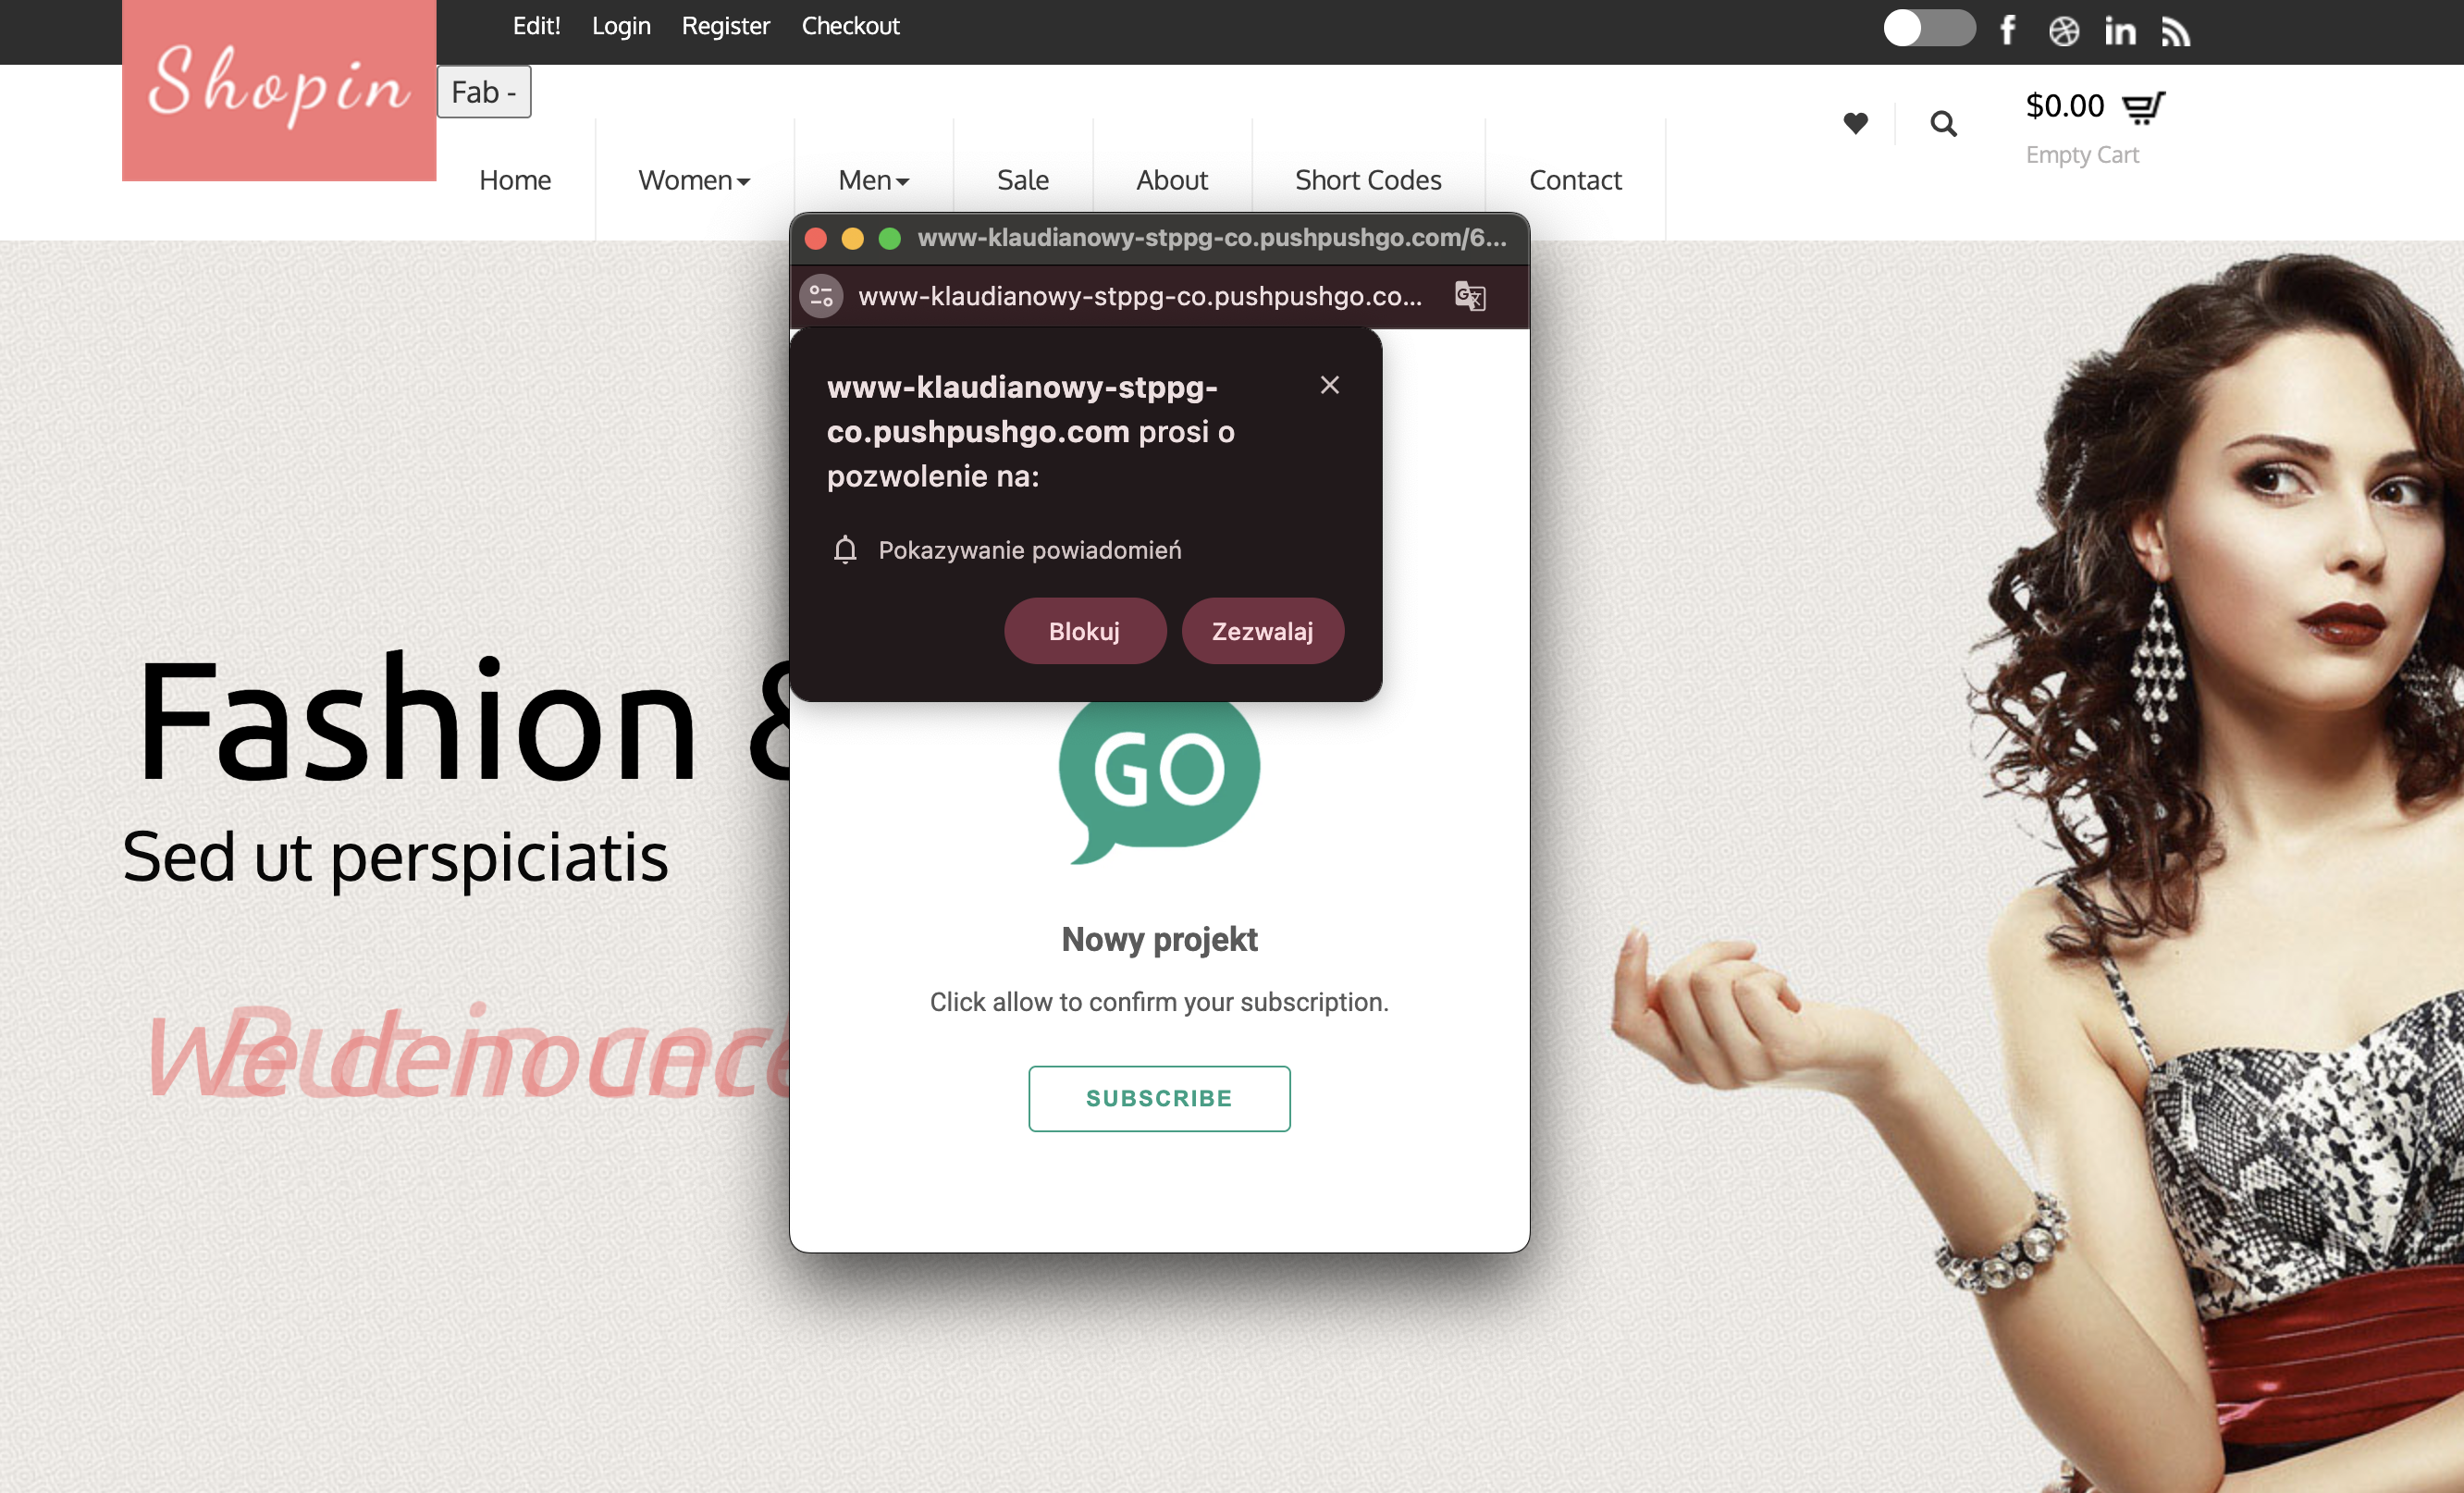
Confirmation window
With basic integration, the notification entry consists of two steps. After displaying the subscription form with which the user agrees to receive notifications, an additional confirmation window will appear, in which they must confirm their consent to subscribe once again.
The "Confirmation window" editing option can be found in the "Web push integration" section. You can change the content and set the logo of your project to personalize the confirmation window and make it visually consistent with the sign-up form.

Integration with own domain
In the case of Integration with own domain, additional conditions must be met during the integration process:
- Your domain must have https.
- The integration script must be placed in the <head> section of your website's code.
- You must add an sw.js file downloaded from our website to your server root path (so that it is available from https://yourdomain.com/sw.js).
Due to the above, it is not possible to carry out this integration using Google Tag Manager.
What do you gain from this integration?
- Your recipients subscribe to one-click notifications, enabling your database to grow faster.
- Only your domain is visible in notifications on your website.
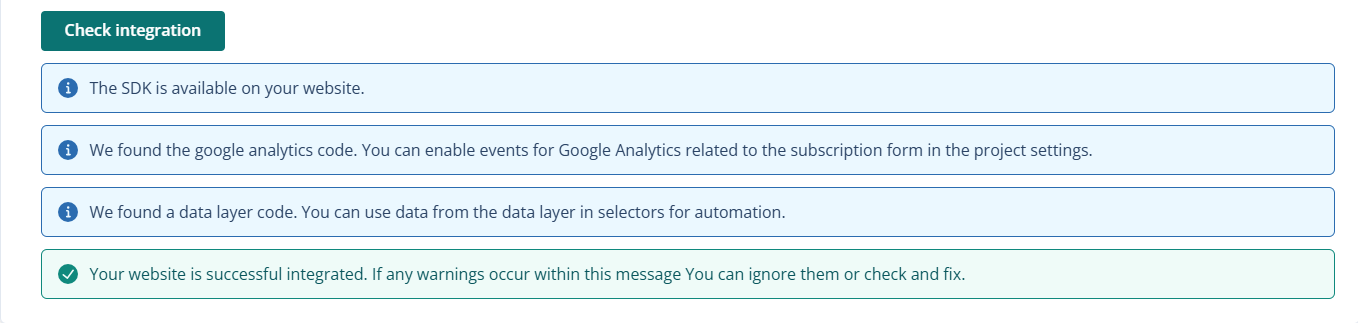
1. To integrate your website using Integration with own domain, first download and unpack the script and then place it on the server root path.
To check its location:
- Paste http: //yourdomain/sw.js in your browser and check if it returns the file value or displays an error
2. Next, place the integration code in the <head> section in your page code and click Check Integration to verify its accuracy.

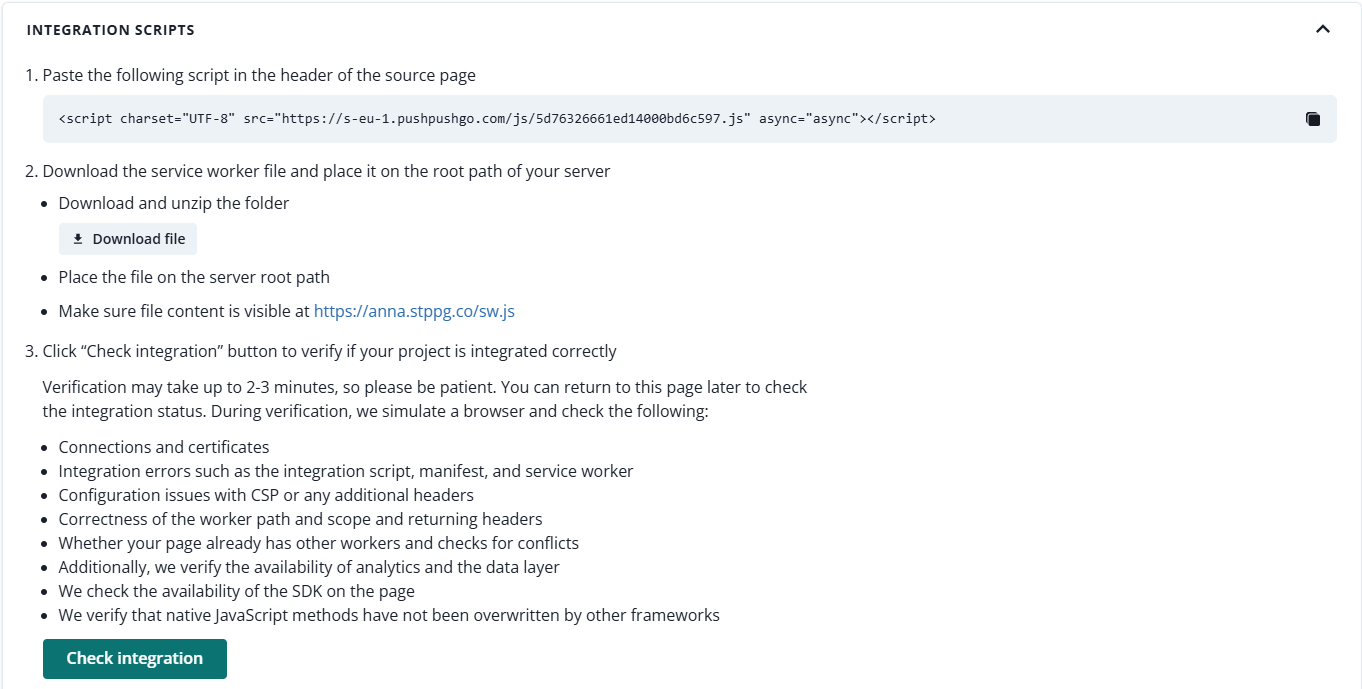
3. A green message will inform you about the correct integration and a form for subscribing to web push notifications will appear on the website.
Important: In the case of integration with own domain, if you already have your service worker on the site and you can not delete it - import the contents of the sw.js file into your file and be sure to inform us about it.
Service worker path change
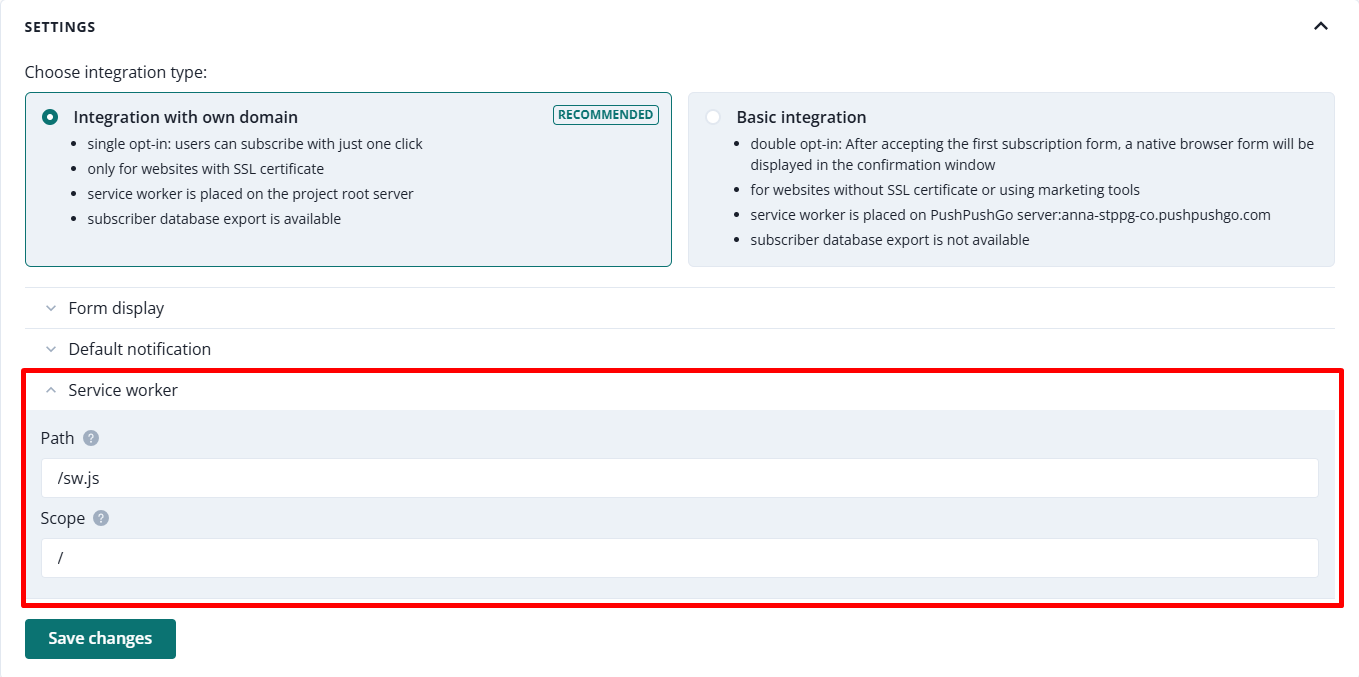
If you want to replace the address from sw.js with another one, e.g. service-worker.js, you can paste the new address in the Service Worker Path section of the Project settings tab. However, if you want to change the directory where the sw.js file is located (for example to static/sw.js), you must also add the following response header: "Service-Worker-Allowed": "/".
If you intend to add the service worker to another directory, e.g. static, then the fields "sw.js path" and "sw.js scope" (in the Project settings tab on your account) should be completed in this way:
- sw.js path: /static/sw.js
- sw.js scope: /static
Integration tips and tricks
Integrating PushPushGo for web push is only the first step. In practice, many teams face technical limitations imposed by their platform, CRM, or website builder, while others want to improve results from their existing setup. This section provides useful tips and common scenarios to help you adapt your integration and get the most out of PushPushGo.
What are the best practices for growing my subscriber list?
Give your visitors every opportunity to subscribe.
Place subscription scripts on every page of your website. This ensures that the subscription form appears on the first page they land on, so they won’t miss it. It will not be displayed again unless you use subdomains, which require separate projects (and unique integration scripts for each project). In such cases, the subscription form will appear on each subdomain.
Use integration with your own domain and the default subscription form (a single opt-in window), which results in less drop-off. You can collect subscriptions up to 10× faster compared to double opt-in methods (custom forms with your own domain integration and all forms with basic integration). This option is available only if you can upload a service worker to the root path of your server.
I use a website builder where I cannot upload a service worker (sw.js) to the server root path. How do I integrate?
Make sure to double-check your options with your provider through their support. If there is no way to upload the sw.js file, don’t worry—select Basic Integration and refine your subscription form.
The double opt-in form is fully customizable, so you can match it perfectly to your branding. It may also result in a higher-quality, more engaged audience—quality over quantity.
I have subdomains or landing pages with different URLs than my main domain. How do I integrate?
A domain and its subdomains (e.g., ecommerce.com and checkout.ecommerce.com) must be treated as separate projects when integrating web push. If you try to integrate them within a single project, you may end up with duplicate subscribers.
You should create and integrate separate projects for each domain, subdomain, or landing page.
Remember that each project has its own unique integration package (scripts and service workers).
I am integrating PushPushGo with my marketing automation or CRM. I want to use PushPushGo for the top of my funnel and marketing automation for known contacts. What are my options?
In this case, you need to ensure that your entire website is integrated with PushPushGo. The exact setup depends on how your website is built. Key factors include:
- Domain structure: If you use subdomains or landing pages, you will need to create a separate project for each (main domain, subdomain, landing page).
- Access to the server root path: If you cannot implement a service worker yourself, you will need to use Basic Integration, where PushPushGo hosts the service worker. This applies to most website builders such as Wix, Wix Studio, Squarespace, etc.
- Custom ID (email) capture: Create selectors to capture the
customId(e.g., email address) across your entire website.
When integrating with tools like ActiveCampaign Marketing Automation, a default selector is created during setup, but it will only capture emails marked as #email in your website’s source code. To cover all cases—especially where email fields are labeled differently—you should create additional selectors for each instance. You must select the type "Get custom Id from..." to get the correct field populated and send email addresses to your marketing automation contact list for matching.
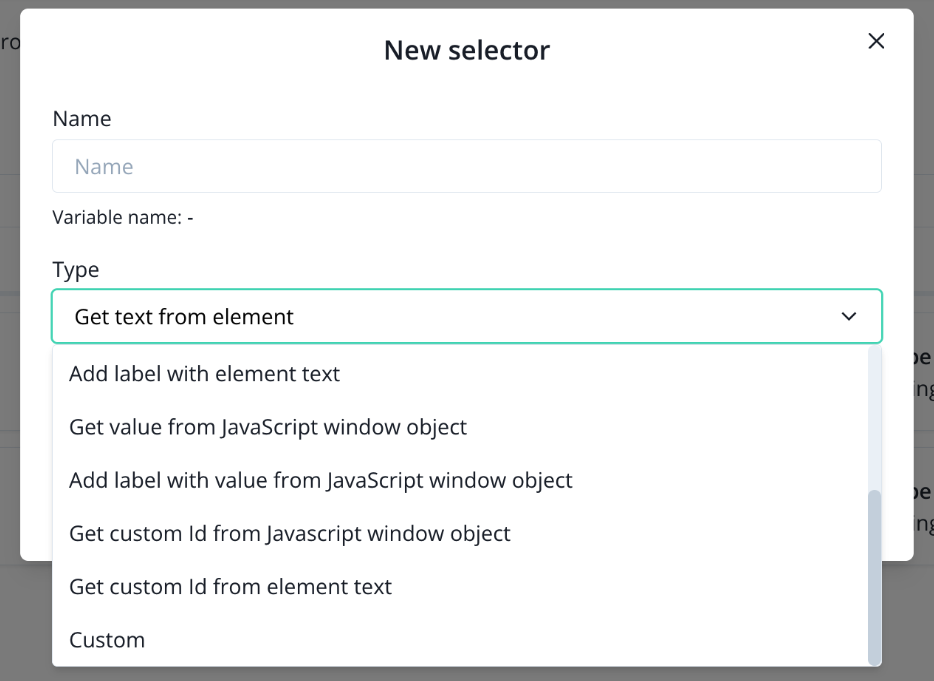
See Web/mobile push selectors to learn how to configure them.
Send a web push campaign
To complete the quick start you can send your first web push campaign (or set up an onsite notification, depending on your subscription plan)!
Sending web push campaign video instruction: