Live activities: creating and managing live activities
Live activities: create a live activity
To create a live activity, go to Live activities option from the main navigation bar.
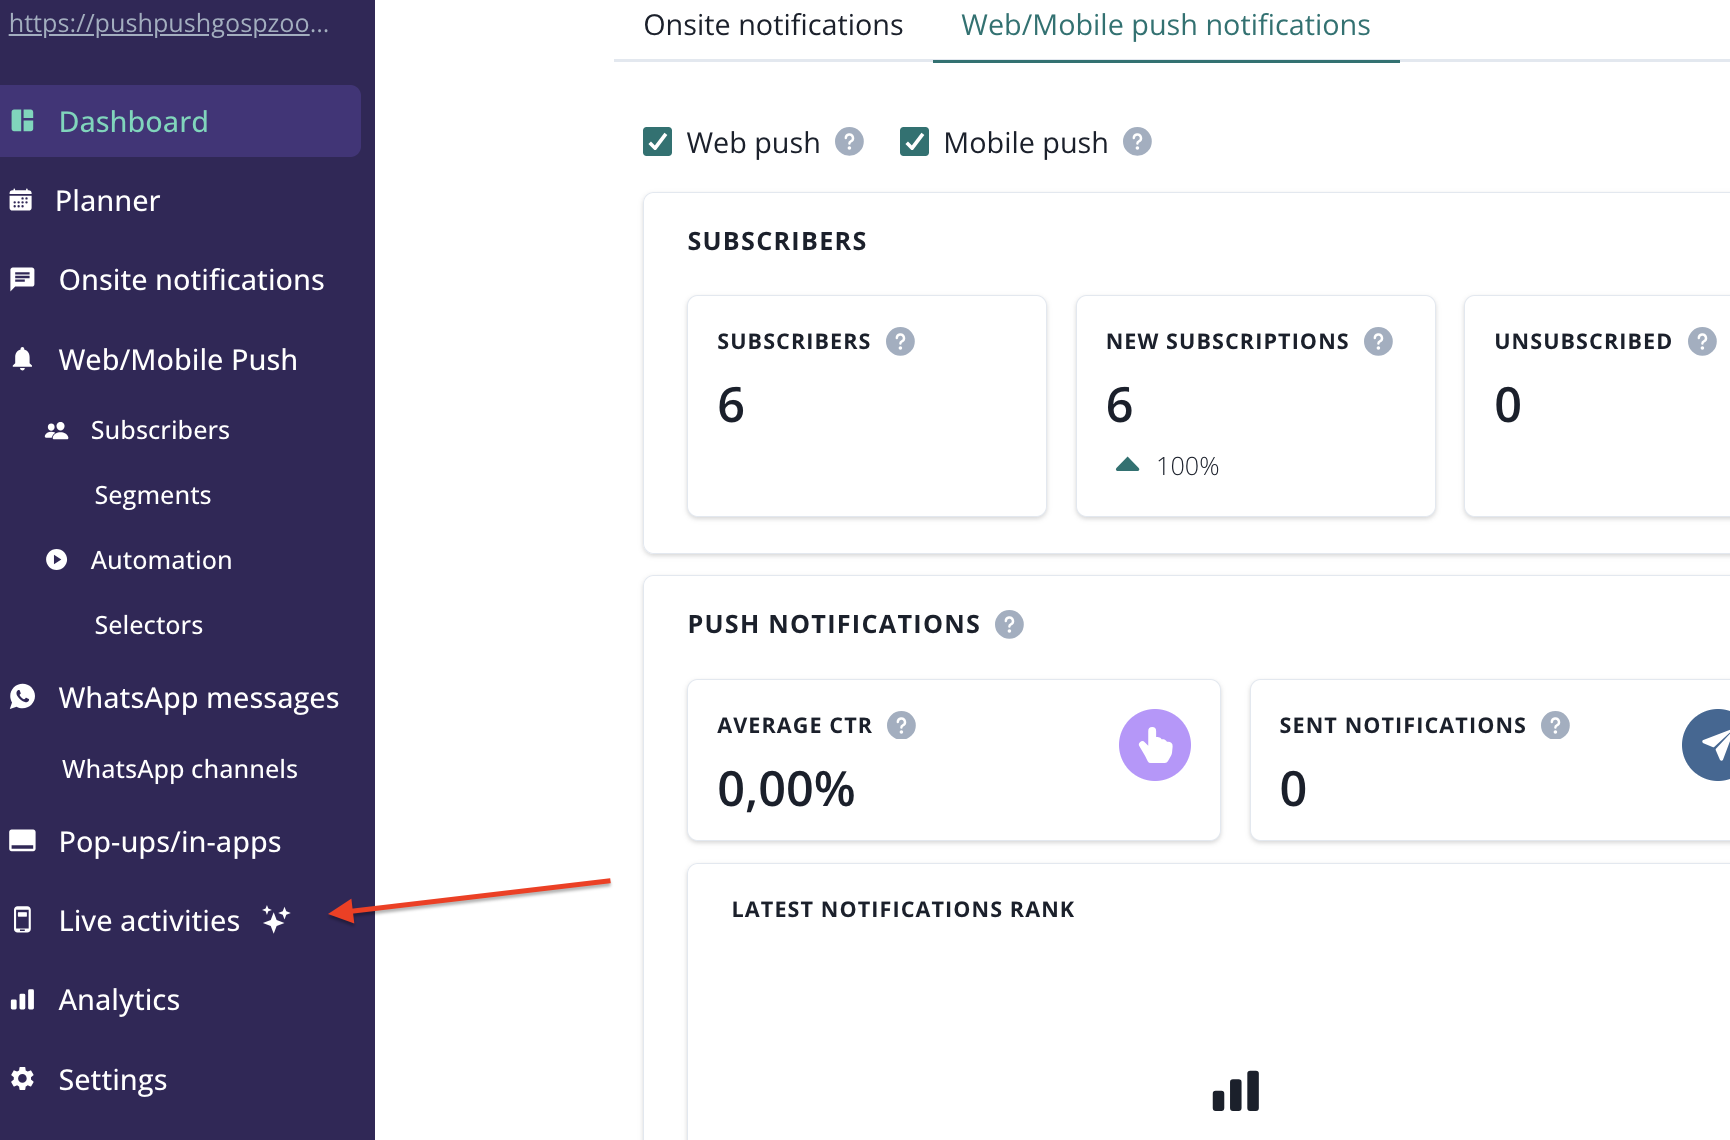
You will land on live activities list.
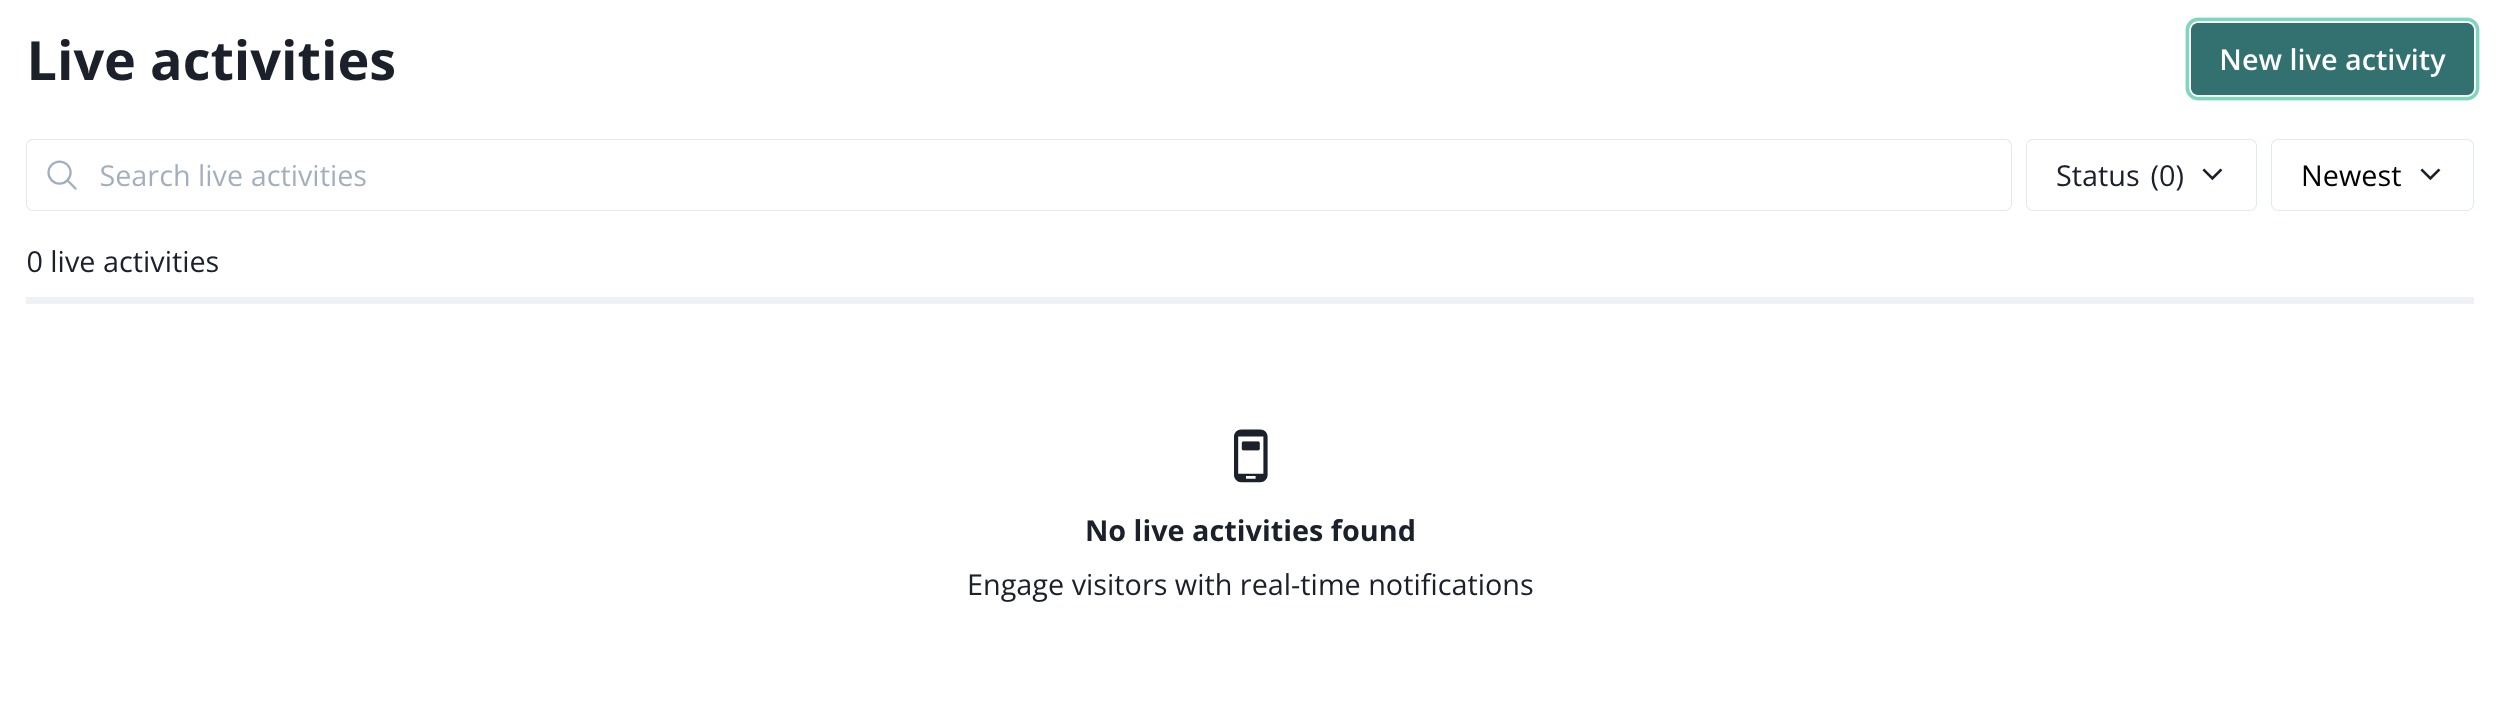
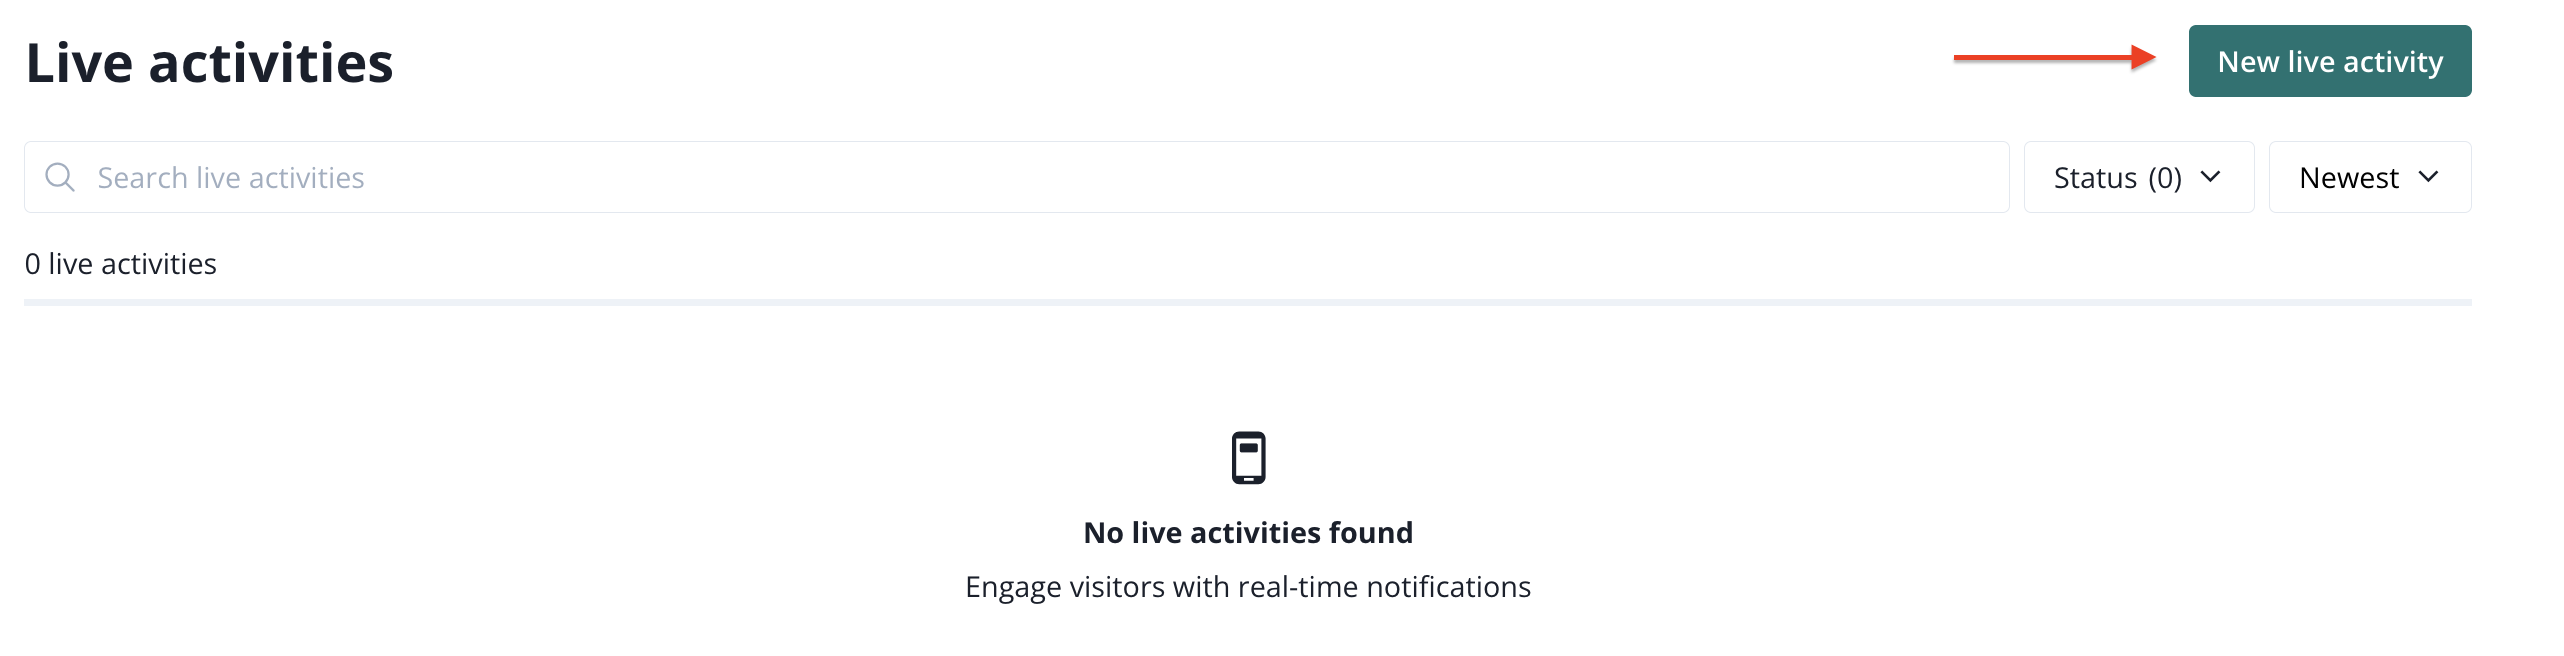
You will see live activities templates that you can use.
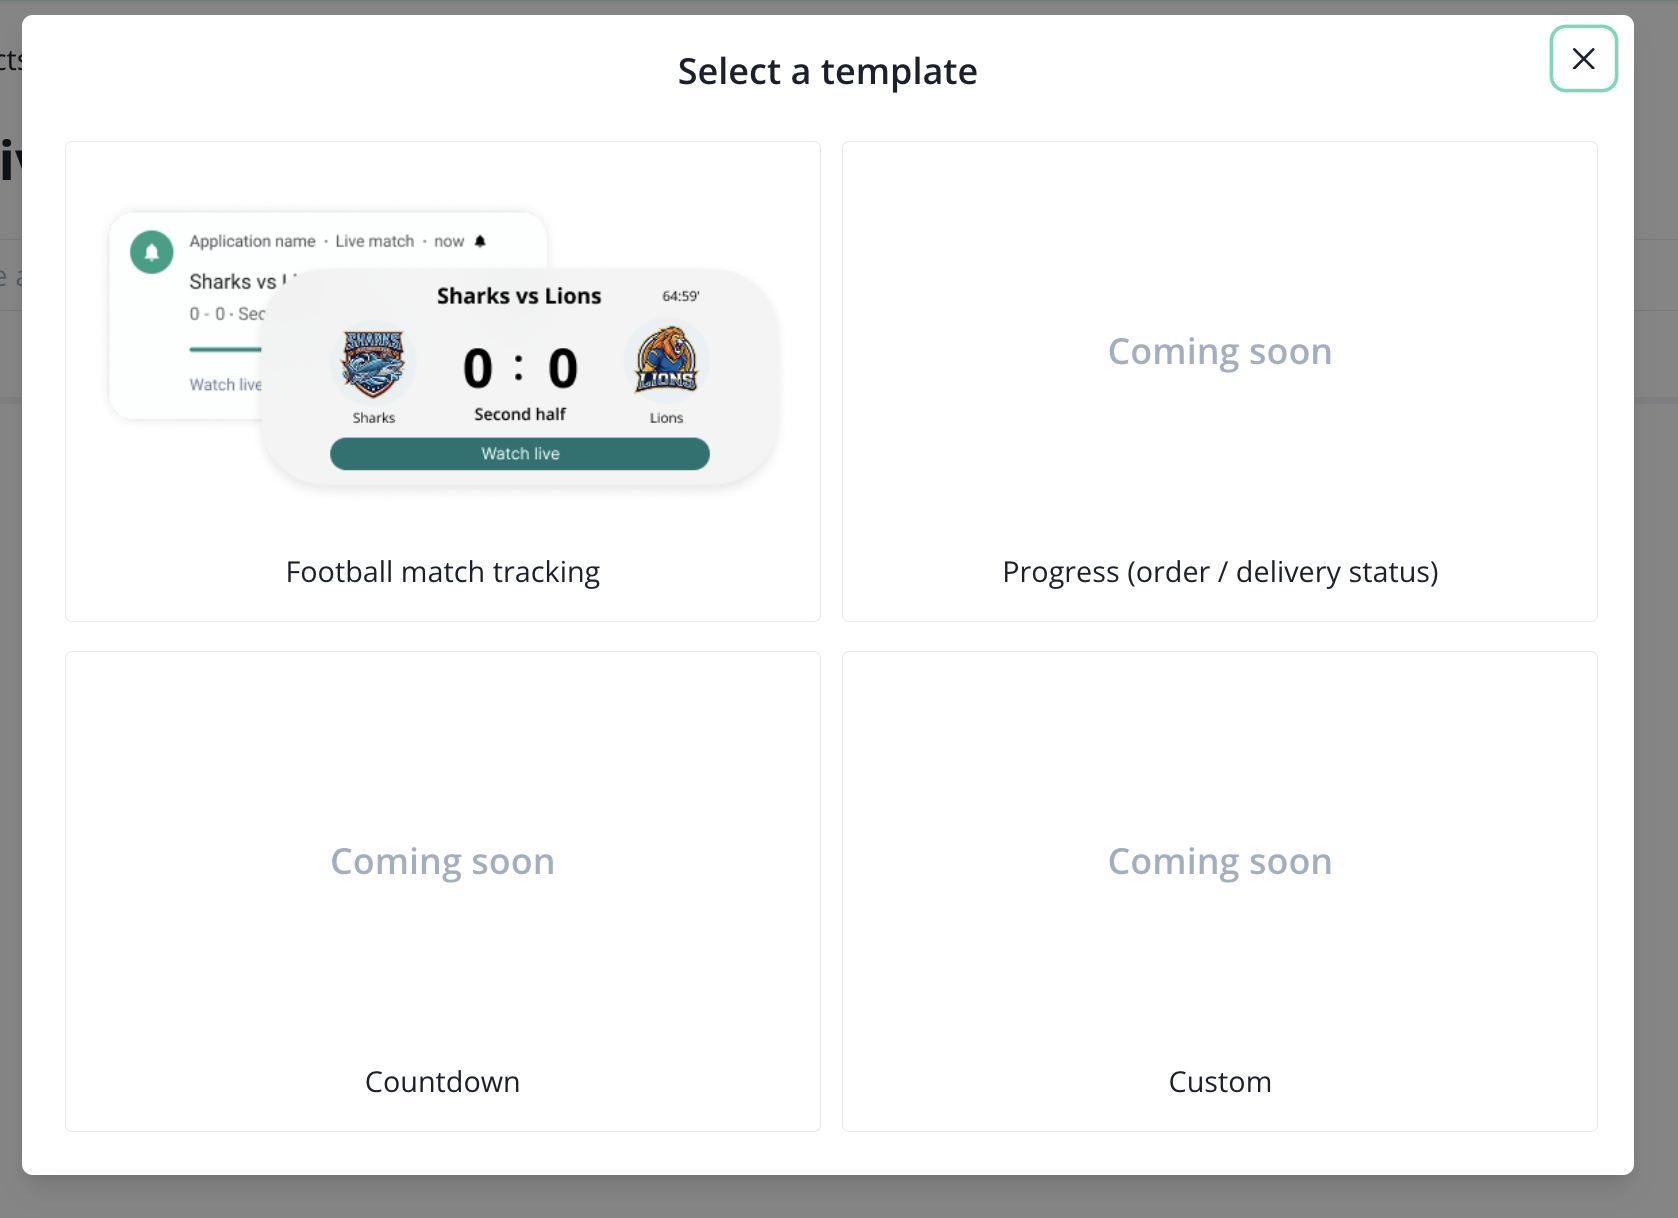
Live activities: templates
When creating a live activity, you must select one of available templates.
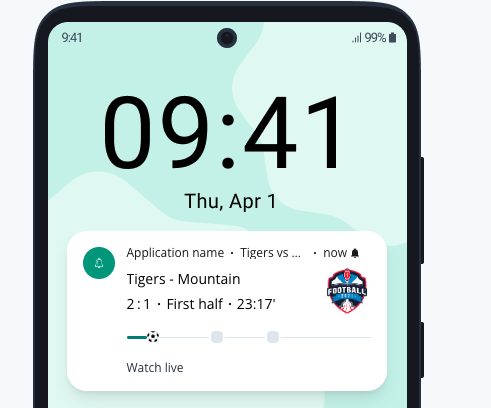
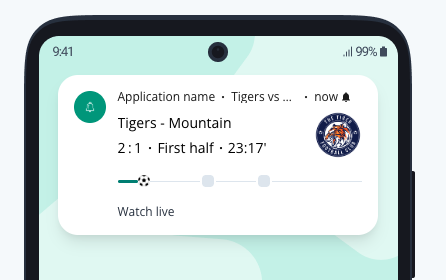
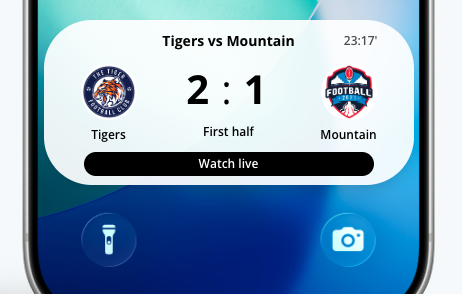
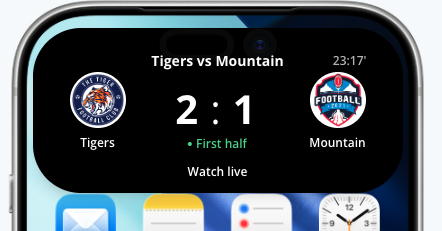
Live activities: football match tracking template
This template will allow you to perform a live broadcast of a football match score, directly on a user mobile screen.
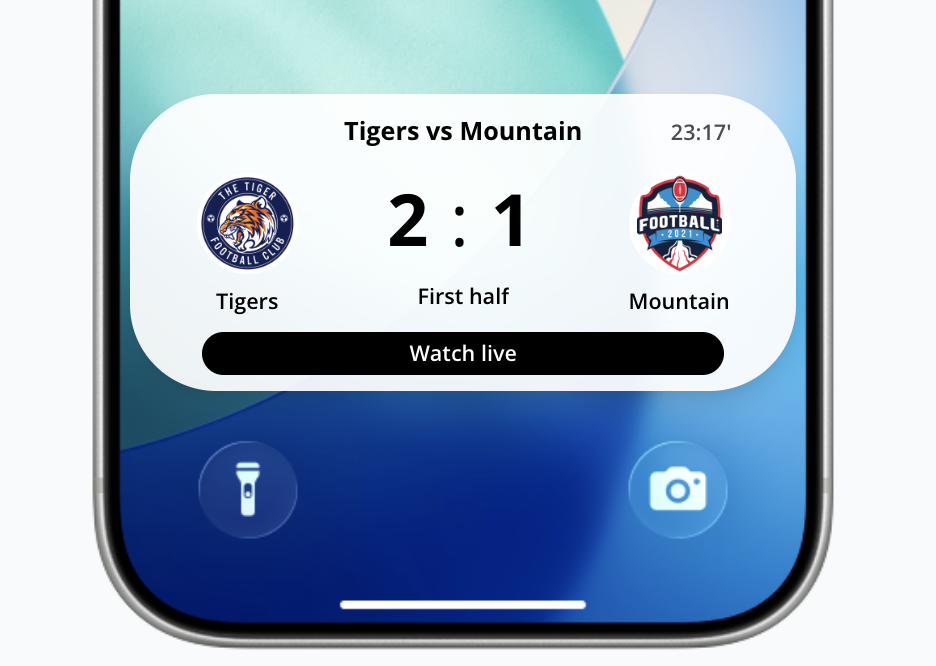
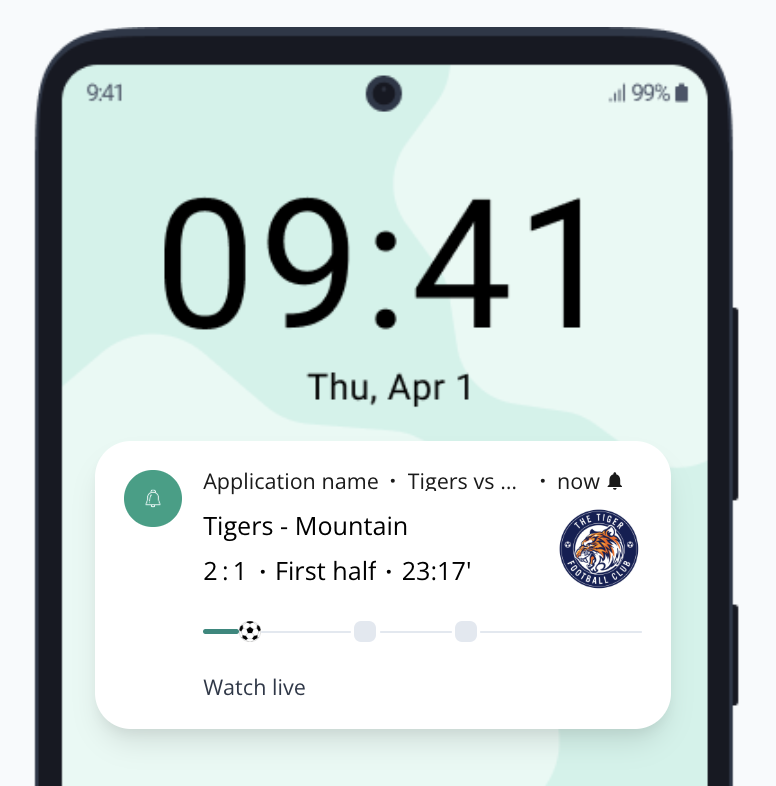
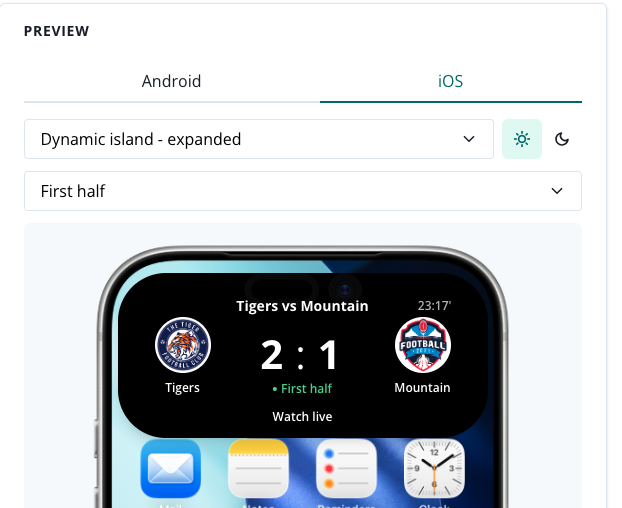
What will be displayed:
- event name
- current score
- time
- status (pre match, first half, break time, etc.)
- home team name
- away team name
- progress bar (Android)
- icons (team logo)
- iOS: space for two icons
- Andoird: space for one icon, but you can upload two and they will be displayed in rotation.
- action button
- application name (Android)
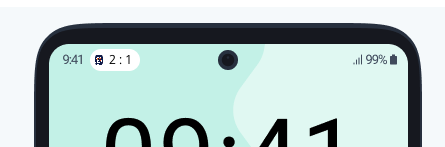
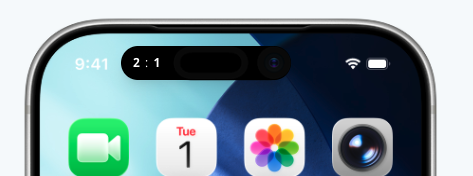
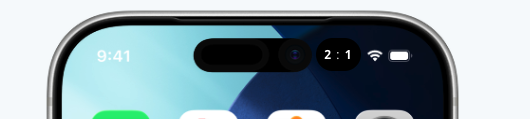
Live activity: preview
Fill in all the details in the Event details section and, if needed, update the default status messages in Status message section. As you go, you can preview how your live activity will look on iOS and Android when the event will go live and during status changes.
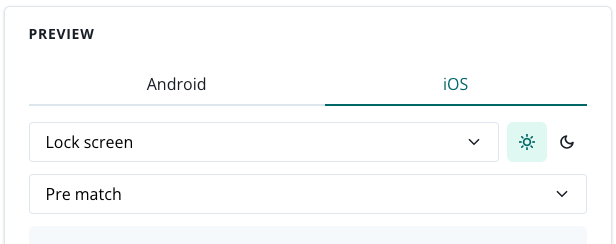

Preview combinations available in Android and in iOS:

Below you will find information regarding segmentation, templates and their customization options and display time settings.
Live activities: segmentation
Live activity can be only displayed to users of your app that have Live Activity permission enabled (they are enabled by default, however users can disable them in the settings of the app). Users must also grant a permission for a particular event to be displayed as a live activity on their mobile devices screen.
You can collect permisions for each event in your app, for example by adding a bell icon on the event page. Read more about that in our SDK documentation for Android and iOS.

Live activities: time
Live activities: start time
For the majority of live events, the start time will be determined by the system status change sent from your system to PushPushGo (e.g. food delivery) via API call. Some events, like football match tracking, will require including start date and time during event configuration. As we know, sport events not always actually start at the exact event time, so untill the game starts, every user that signed up for event tracking will see a "pre-match" status, alongside the initial score, team names, etc.
You will set the event start date and time in the Settings section of the live activity creator.

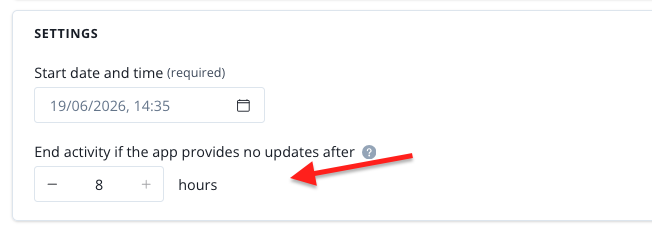
Live activities: end time
Each event can be set for a maximum of 8 hours from the event start time - that is determined by iOS and Android, no event can last longer than 8 hours. Of course, you can always finish the event tracking by sending the correct event via API call to our system. In case that the last even never arrives, the activity will be automatically finished after the time you have selected in the Settings section of the live activity creator.
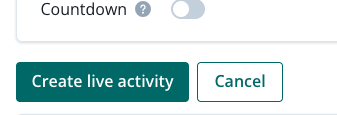
Once you are done with all the settings, you can hit Create live activity button.
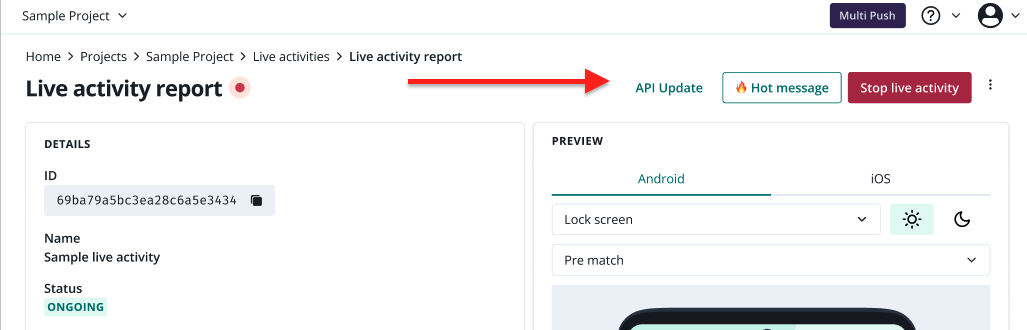
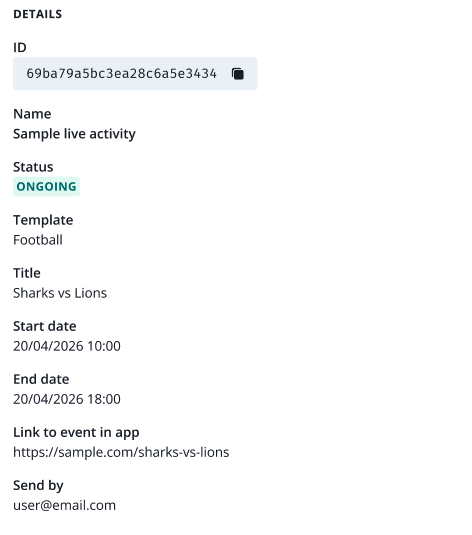
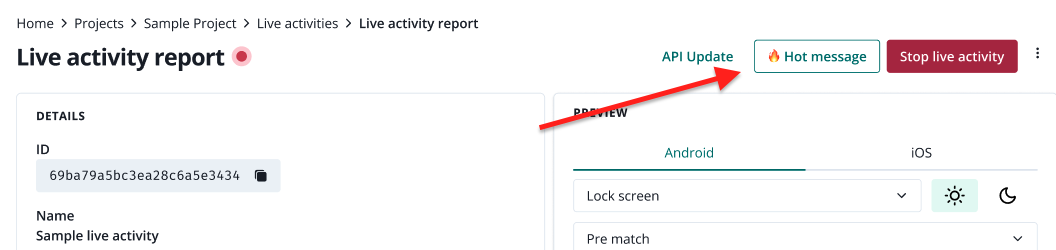
Live activites: report
After creating a live activity, you will be redirected to the live activity report. Here you can find your live activity:
- details,
- preview,
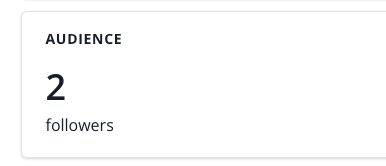
- audience (app users that subscribed to this event in your app),
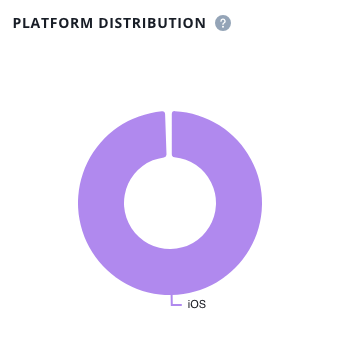
- platform distribution,
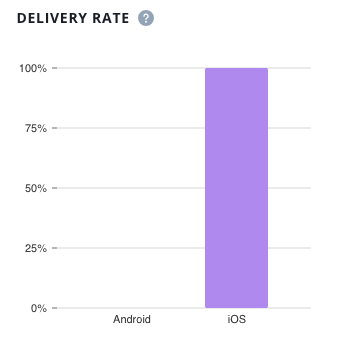
- delivery rate,
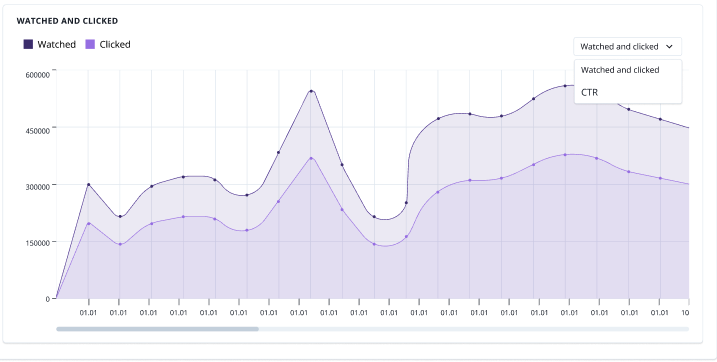
- statistics.

Live activities: status update
In many cases, the status update will be done via API endpoint, automatically, if you connect your service for e.g. football match tracking. In that case, you only need to create a an event in PushPushGo panel as described above and all updates will be done via API.
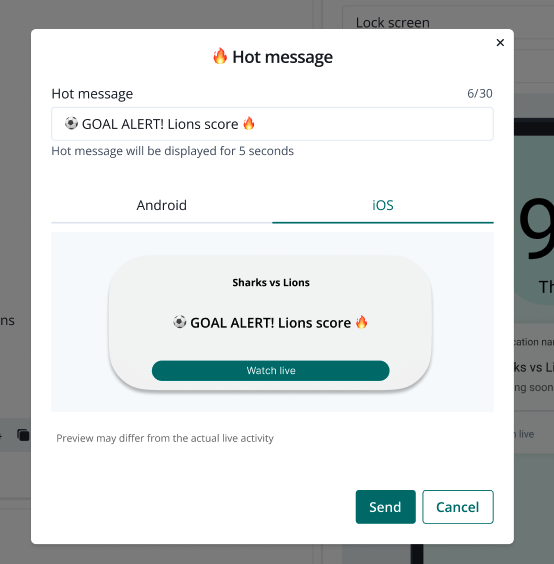
If you want to broadcast an event manually, you can do it via "Hot message" from the live activity report.
Live activities: API endpoint
If you want to setup an automatic or semi-automatic event broadcast via API, you can do that using the dedicated API endpoint.
After creating a live activity, you will see the API endpoint details:
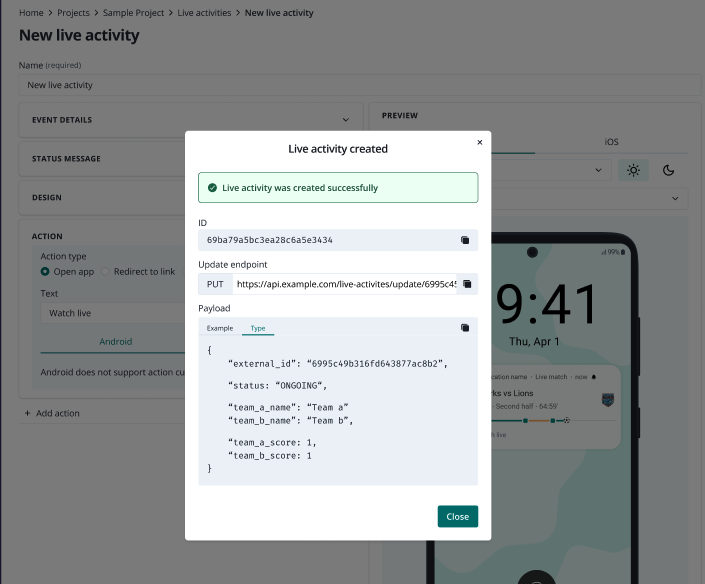
These can be also viewed from the live activity report.